Simpatico – A New Release & Perfect Pair

It has been a while since I was super excited about a sew for myself. But let me tell you, when I pulled out the fabric (Double Brushed Poly from So Sew English Fabrics) for these new leggings, I could feel my excitement building. It only got higher when I decided to make a new top to go with it. This set has me feeling all the springy vibes and I couldn’t be more comfortable.

The leggings are a super quick and simple new pattern from Greenstyle Creations. I have a few go to legging patterns already, but this will be replacing my basic one. Why? There are a few reasons the Simpatico stands out for me.

The first thing I noticed was calf shaping. Unless leggings are super tight, I will usually get bunching above and below my calf. And if leggings are super tight, they can feel restricting and painfully tight at my calf. With these, I have no calf restriction and no bunching, they fit my legs perfectly.

Another thing I noticed and liked about the Simpatico, the three built in inseam length options. I’m 5′ 9′ with a 29″ inseam. With the three built in lengths, I fall in the standard length, and that meant I was able to skip adding for my height. The only grading I had to do, was going from my G everything to an E thigh. So it made this a really fast sew for me. Such a fast sew, that I had time to make a quick tie back tank to wear with it.

I just love how it looks tied up or left open, both work great with Simpatico!

For the Simpatico, I made a size G with an E thigh, standard length, with a high-rise waistband. The Simpatico is currently on new release sale! The Tie back tank is a straight Medium with 1″ added for my height, low neckline, racerback, in rayon spandex.

This post may contain affiliate links. This means if you make a purchase through that link, I may get a % back, at no additional cost to you. Thank you for supporting my sewing 💕

Layering for Winter in Arizona

Desert living really has it benefits in the winter. We do get our cold storms, but on a typical day I can start out wearing cool weather clothes, transition into tanks and even shorts, and end up back in the cool weather clothing by evening. Because of this and my circulation problems, I really love wearing pants, tanks, and cardigans. I have found myself grabbing that combo from my closet, more and more, so I decided to make myself a new set.

I recently discovered a fabric base called Oakley. I love it for cardigans! It is soft and squishy, and has a slight brushed feel. BUT, it doesn’t grow like some sweater knits, it’s easy to sew, and it is available in some really fun prints. This print in particular caught my eye and I just couldn’t pass it up.

Then came the coordinating tank fabric. I really wanted something I could wear into spring and summer, but wanted something a little “dressier” than a modal or rayon spandex. I particularly like ITY (interlock twist yarn) for dresses and tops, because it has great drape, and can keep me cool in the heat, so I started looking there. I came across this solid navy ITY and took a chance it would match the Oakley print, and ordered. The fabric matched !!

I knew before ordering, exactly which patterns I intended to use for this combo. For the tank I used the Catalina tank from So Sew English Fabrics. I liked the look when it released, but didn’t get a chance to try it out, and now was the perfect time. Since I prefer to wear my regular bra, I decided to omit the elastic for the included shelf bra, and treat it as a liner. Because of my height and my side waist length, I added an inch in the length of the bodice, and also added an inch to the “shelf bra” length.

A few things to note: I am 5’9″ with a side waist length of 9″. Most patterns are designed for a height of 5’5″, and an 8″ side waist length. I have found that adjusting my 1″ for side waist length difference, is usually enough for tops, based on where I carry my height. However, in this case, I would have needed to add 2″ to both the shelf bra and the bodice, versus the 1″ I did, if I had made the pattern as drafted and used the elastic, and hemmed the bodice (which I didn’t do, for the look I wanted). The Catalina is drafted for a height of 5’5″. If I had used a heavier fabric or one that grew, I could have left it with just adding 1″.

Since the “lining” was designed to be a shelf bra, it comes in to your body and has more negative ease. I found that this helped keep the “lining” in place and gave me a really clean silhouette, with no visible lines.

I particularly like the extra strappy look I got on the back, wearing it with my regular bra.

For the cardigan, I chose the Patterns for Pirates, Cocoon Cardi. I had a happy accident the last time I made the pattern and ended up with 10″ bands versus the 5″ or 13″ options in the pattern. I also sized it up one, from my measured size, and the combo was love. For this cardigan, I did the same.

These two have been on wear, wash, repeat since making, and I foresee the tank being worn with shorts, into summer.

ombre leopard print Oakley patterns for pirates cocoon cardigan and Navy ITY So sew English Fabrics cocoon cardigan

The links in this post are not affiliate links.

Summer Blog Tour – My Bayside Romper

I have always loved rompers, from afar. I decided last year that I wanted to make one for myself. So I bought 4 patterns, and promptly proceded to let them sit.

As one of the day three stops, on the New Horizons Designs Summer blog tour, it was the perfect time to sew up my first romper, the Bayside, and I love it!

Before I get into the details about my romper, let me tell you about the awesome giveaways and generous prizes from the sponsors!

61795211_10219633856176837_4688026081406484480_n

One Grand Prize winner will receive ~ 3 New Horizons Designs Patterns, a $50 gift card to Raspberry Creek Fabrics, and a $35 gift card to So Sew English Fabrics

One 2nd prize winner will receive ~ 2 New Horizons Designs Patterns and a $50 gift card to Raspberry Creek Fabrics

One 3rd prize winner will receive ~ 2 New Horizons Designs Patterns and a $30 gift card to Mily Mae Fabric Shop

If that wasn’t enough, So Sew English Fabrics is offering everyone, a 10% off code to use on one order. The code is NHSUMMER and is valid through June 8th, midnight, PST.

If you didn’t enter the drawing yet, be sure you do so, here !

Now, about my romper 😍

2D8CCB7E-1E9D-4DCA-A8FD-3937B48B2B65

The Bayside Romper has several options, which allows for so many different looks and longer seasonal wear. If you live in warmer climates like I do, it’s even a year round pattern. You can do shorts or pants, plus dresses. The dress lengths are mini, knee length with a straight or curved hem, mid length, and maxi. Plus the two sleeve options of short or tank, and POCKETS. I made the tank with shorts for my first.

I was a little nervous about a one piece outfit since I am 5’9″ and have a longer rise. I picked my size based off the size chart, and then, before adding for height, I held the pattern pieces to my body to make sure I was adding in the right spots. I ended up adding 1″ and the fit is great.

The romper sewed up surprisingly quick, which is a huge bonus for a slow seamstress like me. If you are curious about how it sews up, you can watch my time-lapse video I made, here.

7A7DC79F-D386-4235-A8F7-6C6DB9E64B4A

The only time I deviated from the pattern was not putting elastic in the back crossover. For some reason, I can never seem to get elastic like that, right. Since it doesn’t affect the fit, for me, I avoided it.

I did want to note, when attaching the band to the back crossover portion, I had a little difficulty getting it evenly stretched, so I broke it down into smaller portions by halfing the pieces each, and then attaching. You can see what I’m talking about, (at about 55 seconds ) in my time lapse.

I used this Blue China Floral Bulgaree ITY from So Sew English. Bulgaree Ity has a slight texture to it, has really great drape, and is one of my favorite fabrics, for summer especially. It also hides wrinkles amazingly well, which makes it perfect for trips. I have worn the romper several times and absolutely love it. I even tried it on backwards just to see.

Please tell me I’m not the only one that experiments with their clothes like this?? Since it looked good both ways, my kids keep telling me I’m wearing it backwards 😂

As an added bonus, all the patterns featured on this blog tour, will be on sale during the tour. So if you have been thinking about trying a romper for your summer wardrobe, now is the time to snag a great one.

Thank you for stopping by my blog 💕

Make sure you check out the other stops on the blog tour, to see all the great summer must haves, that are also on sale.

Monday June 3 – was Amanda Briles from Meadow Sews

Tuesday June 4- was Ashley Griffith from Creating Ashley

Wednesday June 5- is April Baylor from Sewing Novice

And – Danielle Thomas ( that’s me! ) from SewGr8ful

Thursday June 6- is Darcy Rochholz Bjertness from Sew Beeloved

Friday June 7- is Ingrid  from Sewingrid

And – Yvette van Musscher from Droomstoffen

This post may contain affiliate links. This means if you make a purchase through that link, I may get a % back, at no additional cost to you. Let’s be honest, we all know it goes right back to adding to my fabric stash. All opinions on this blog are my own.


Lexington love and my newest hack

The Lexington recently released from Annelaine patterns, and if you saw my last post, you know I absolutely love the pattern. If you didn’t see it, you can read all about it here.

In typical Danielle fashion I immediately pictured a hack of it to create a matching mother daughter maxi dress set I had pinned.

inset 2

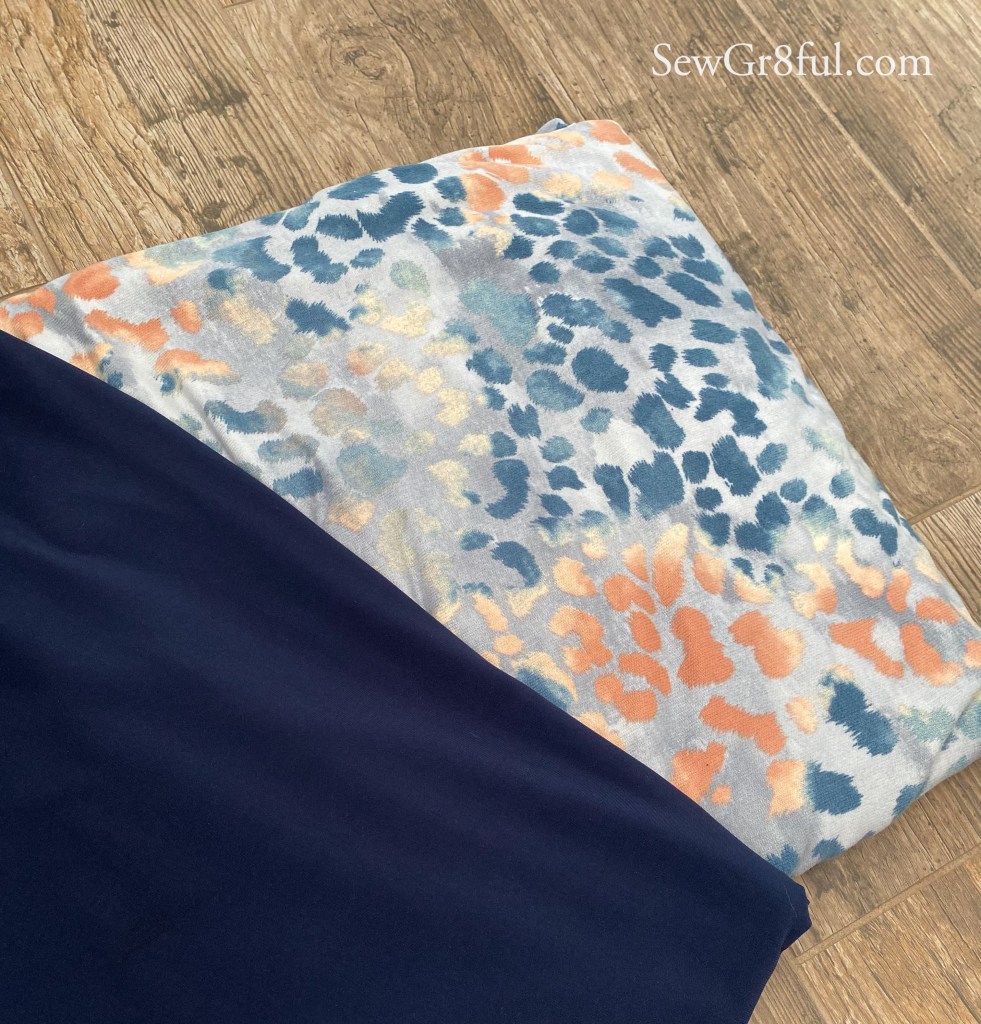
I decided to do the red, white, and navy combo with double brushed poly solids that I purchased from Amelia Lane Designs.

I used the empire cut line for the bodice and skirt, which meant that the only modifications/color blocking I needed to do was to the skirt piece and this is how I did it.

To start with I eyeballed my lengths for the color blocking and used the peplum front and above knee front cut lines to gauge a starting point. In the case of my daughter’s, it was the front peplum and front dress cut lines.

IMG_1584

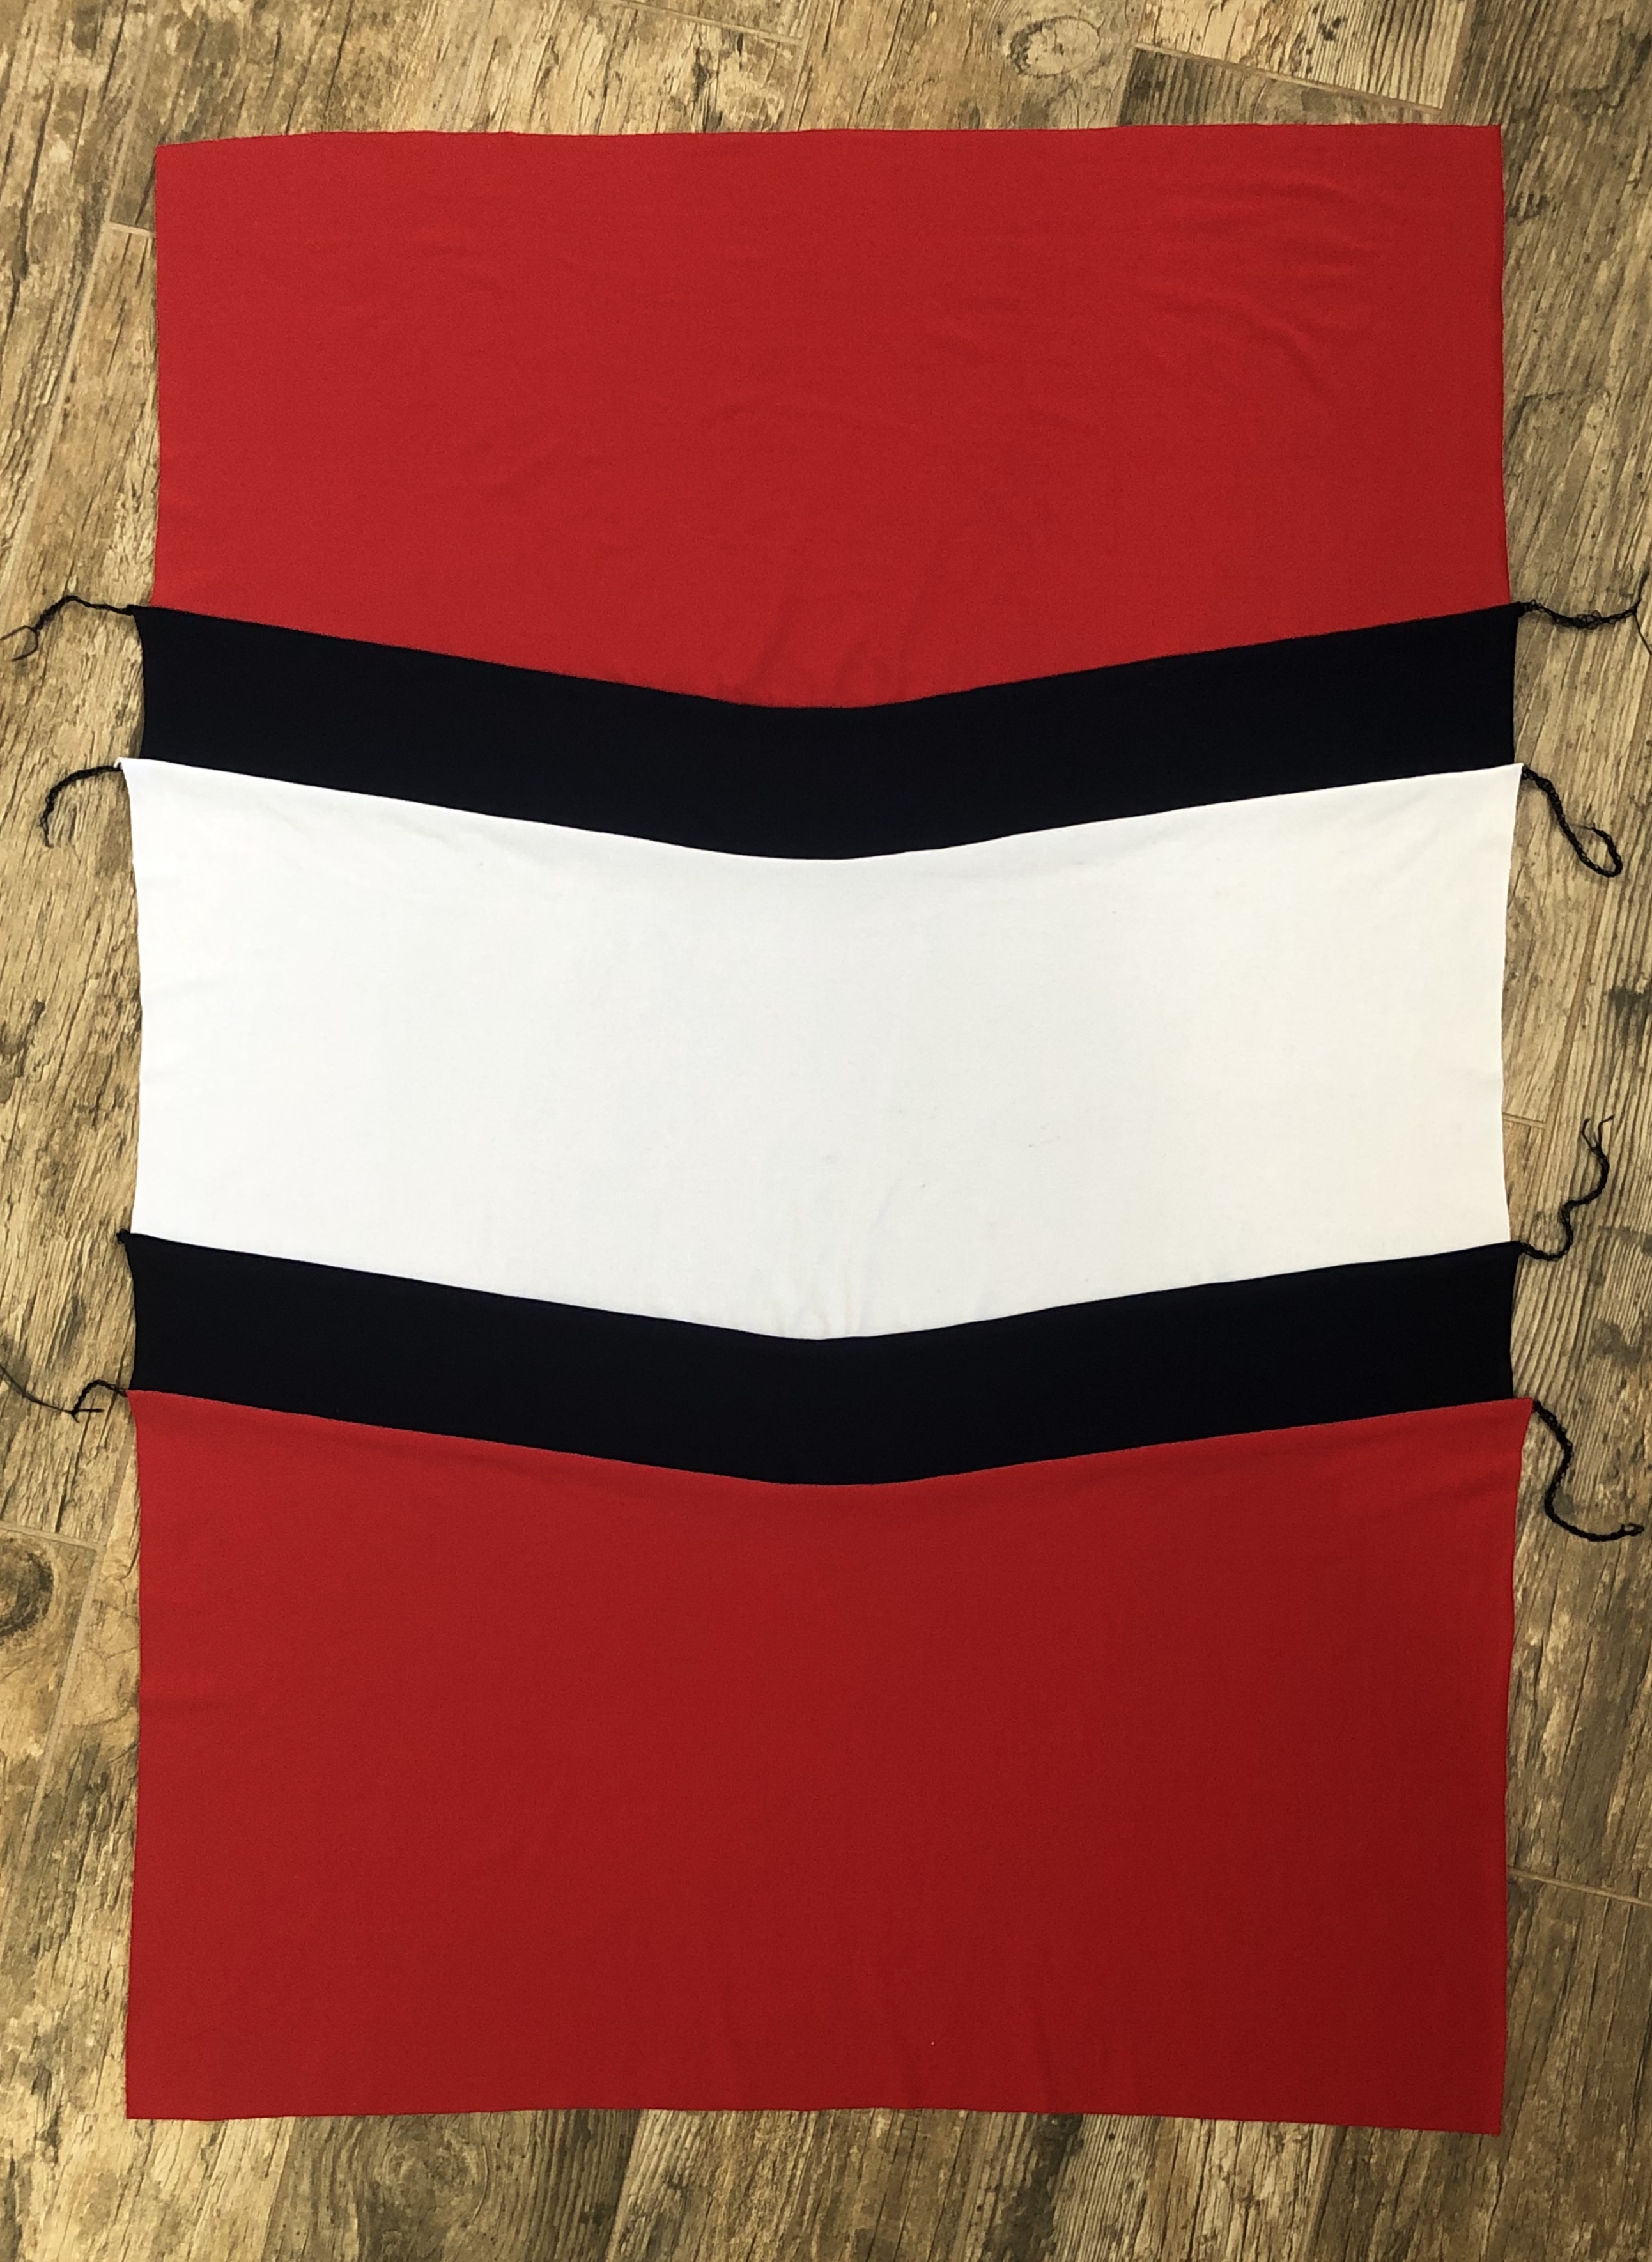
From looking at the pinspiration picture, I felt that the top red portion and the bottom red portion were about the same and the white portion was a little smaller than them. I also knew I wanted my blue strips to be the same size, and around 3”, when finished. I marked the skirt pattern piece a few times for each section, until I got it to where I wanted. Keep in mind the actual measurements, for your skirt color blocking pieces, will vary depending on your specific size chosen. Just to give you an idea, I will share what I used for my daughters and mine. I ended up with around 14.5” for the red pieces, 4” for the blue pieces, and 9.75” for the white piece. On my daughters, I ended up with around 11” for the red pieces, 3” for the blue pieces, and 9” for the white pieces.

IMG_1590

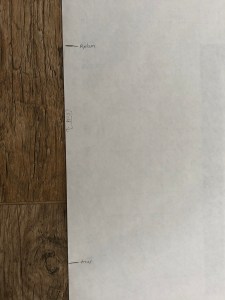
Now comes the fun part. Since the center of the skirt piece color blocking was lower than the side seams, I needed to create that V for each piece. To do so I measured from each point I had marked on the fold line, UP 2”, and marked it on the side seam edge (pictured in red below).

IMG_E1591

I repeated until I had all 4 pieces marked.

Then taking my ruler I drew a line from the upper mark, to the lower mark, for each one. I wanted to curve my centers so I went slightly past my lower mark when connecting the two marks.

IMG_E1599

I chose to make my center points less V like because I figured it would be easier to attach the pieces and with the skirt gathers I didn’t want my lines to look choppy once the dress was done. Then I smoothed out the line and the marks to have a clear cutting line.

IMG_E1602

Seam allowance needs to be added to each piece as well. You can choose to do so now, by making new pattern pieces for each color block, or you can do what I did, and add it when you cut the fabric out. If you choose to add it when cutting the fabric, make sure you do, or your skirt will end up too short. I forgot on two of my pieces and it made me panic before I reminded myself that it was my hack so I didn’t have to follow exact amounts, whew, bullet dodged. To account for this “design adjustment”, I added a little more seam allowance to the connecting pieces.

When adding seam allowance, you will only need to add it to the bottom of the top red piece (R1), the top and bottom of the blue pieces (B1 & B2), the top and bottom of the white piece (W), and the top of the bottom red piece (R2). The original skirt pattern piece has the top seam allowance and the bottom hem allowance already included, so we can skip those.

You can use your new skirt pattern pieces to cut out your chosen colors. Since we are doing the straight floor maxi skirt, the front and back skirt pieces are the same which allows for us to cut two of each color block piece. When cutting, I marked my pieces and made sure to keep them in order so my skirt would fit back together correctly. I labeled them as R1, B1, W, B2, R2, in descending order from the top of the skirt.

IMG_E1603

Once you have all your pieces cut out (10 in total), you can assemble your skirt. To assemble I did both the front and back skirts at the same time, to avoid any confusion of which piece went where. I have this bad habit of walking away to tend the kids or some house thing, and I forget where I was in my sewing. I didn’t want anymore “design adjustments” and I figured this would be easiest to keep it organized.

IMG_E1617

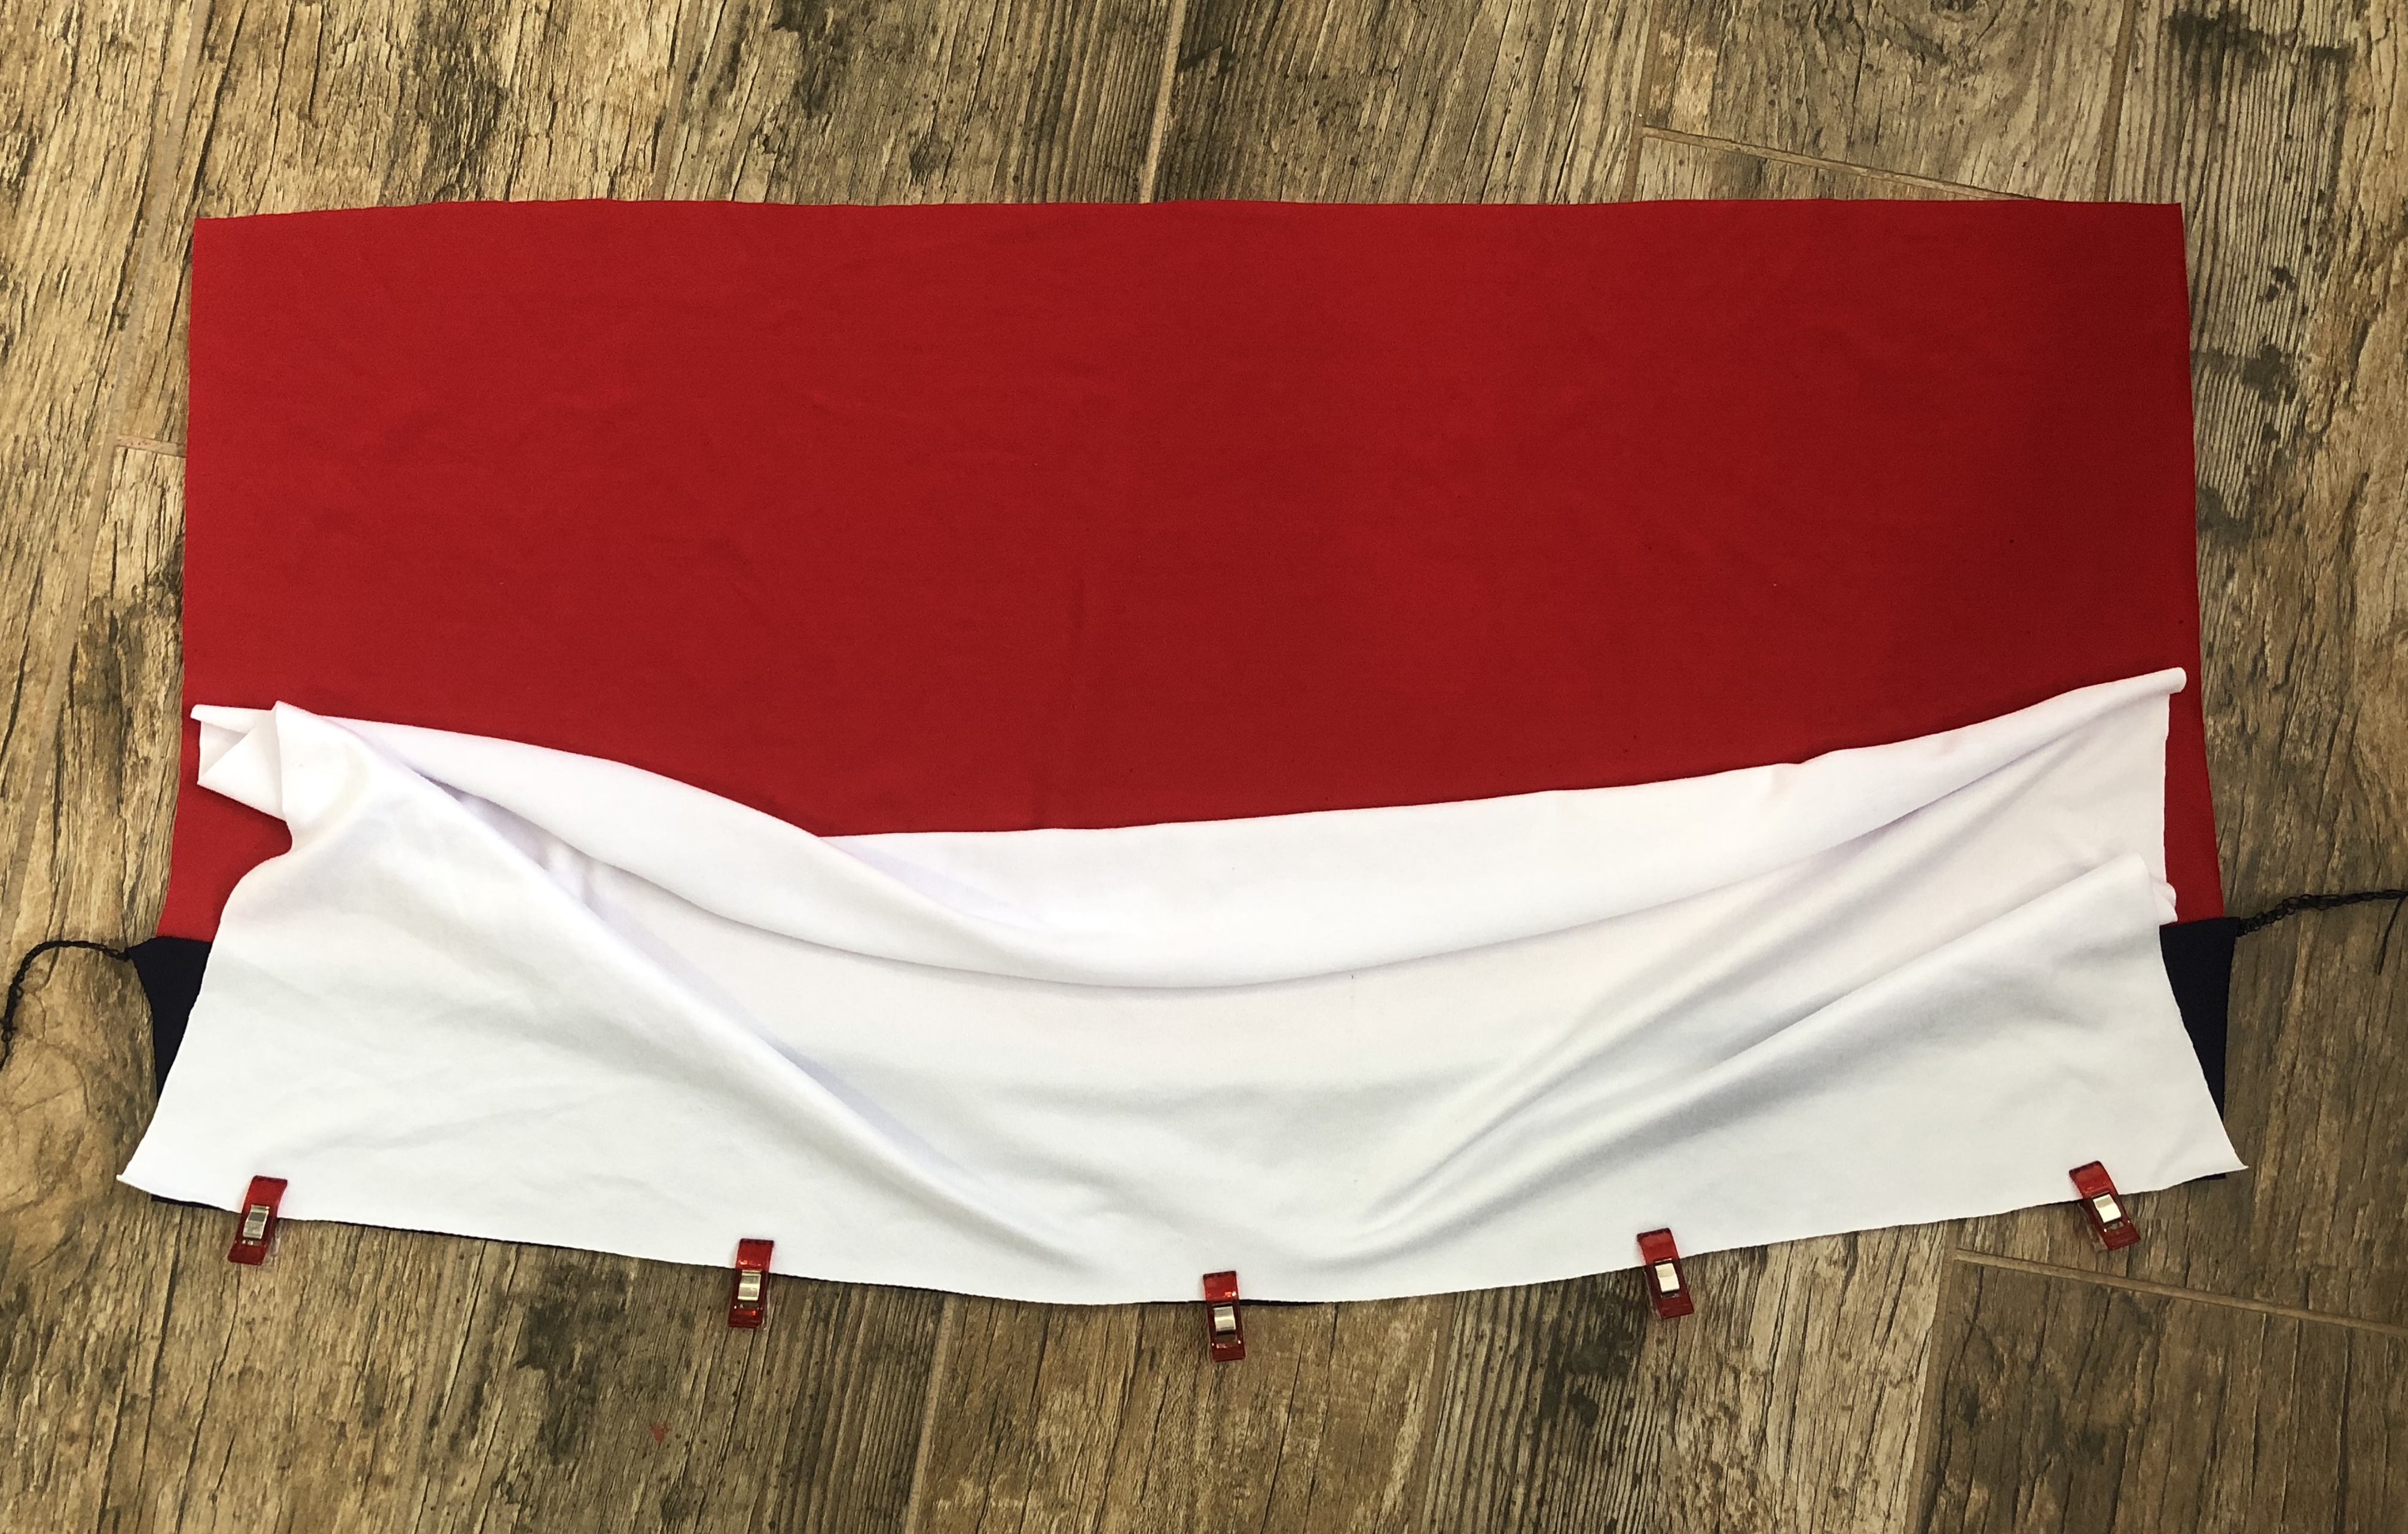
Take your R1 piece and lay it right side up, fully open. Taking your B1 piece, lay it right side down on R1, lining up the bottom of R1 and the top of B1. Clip and sew that seam. Repeat for the back skirt piece.

IMG_1618

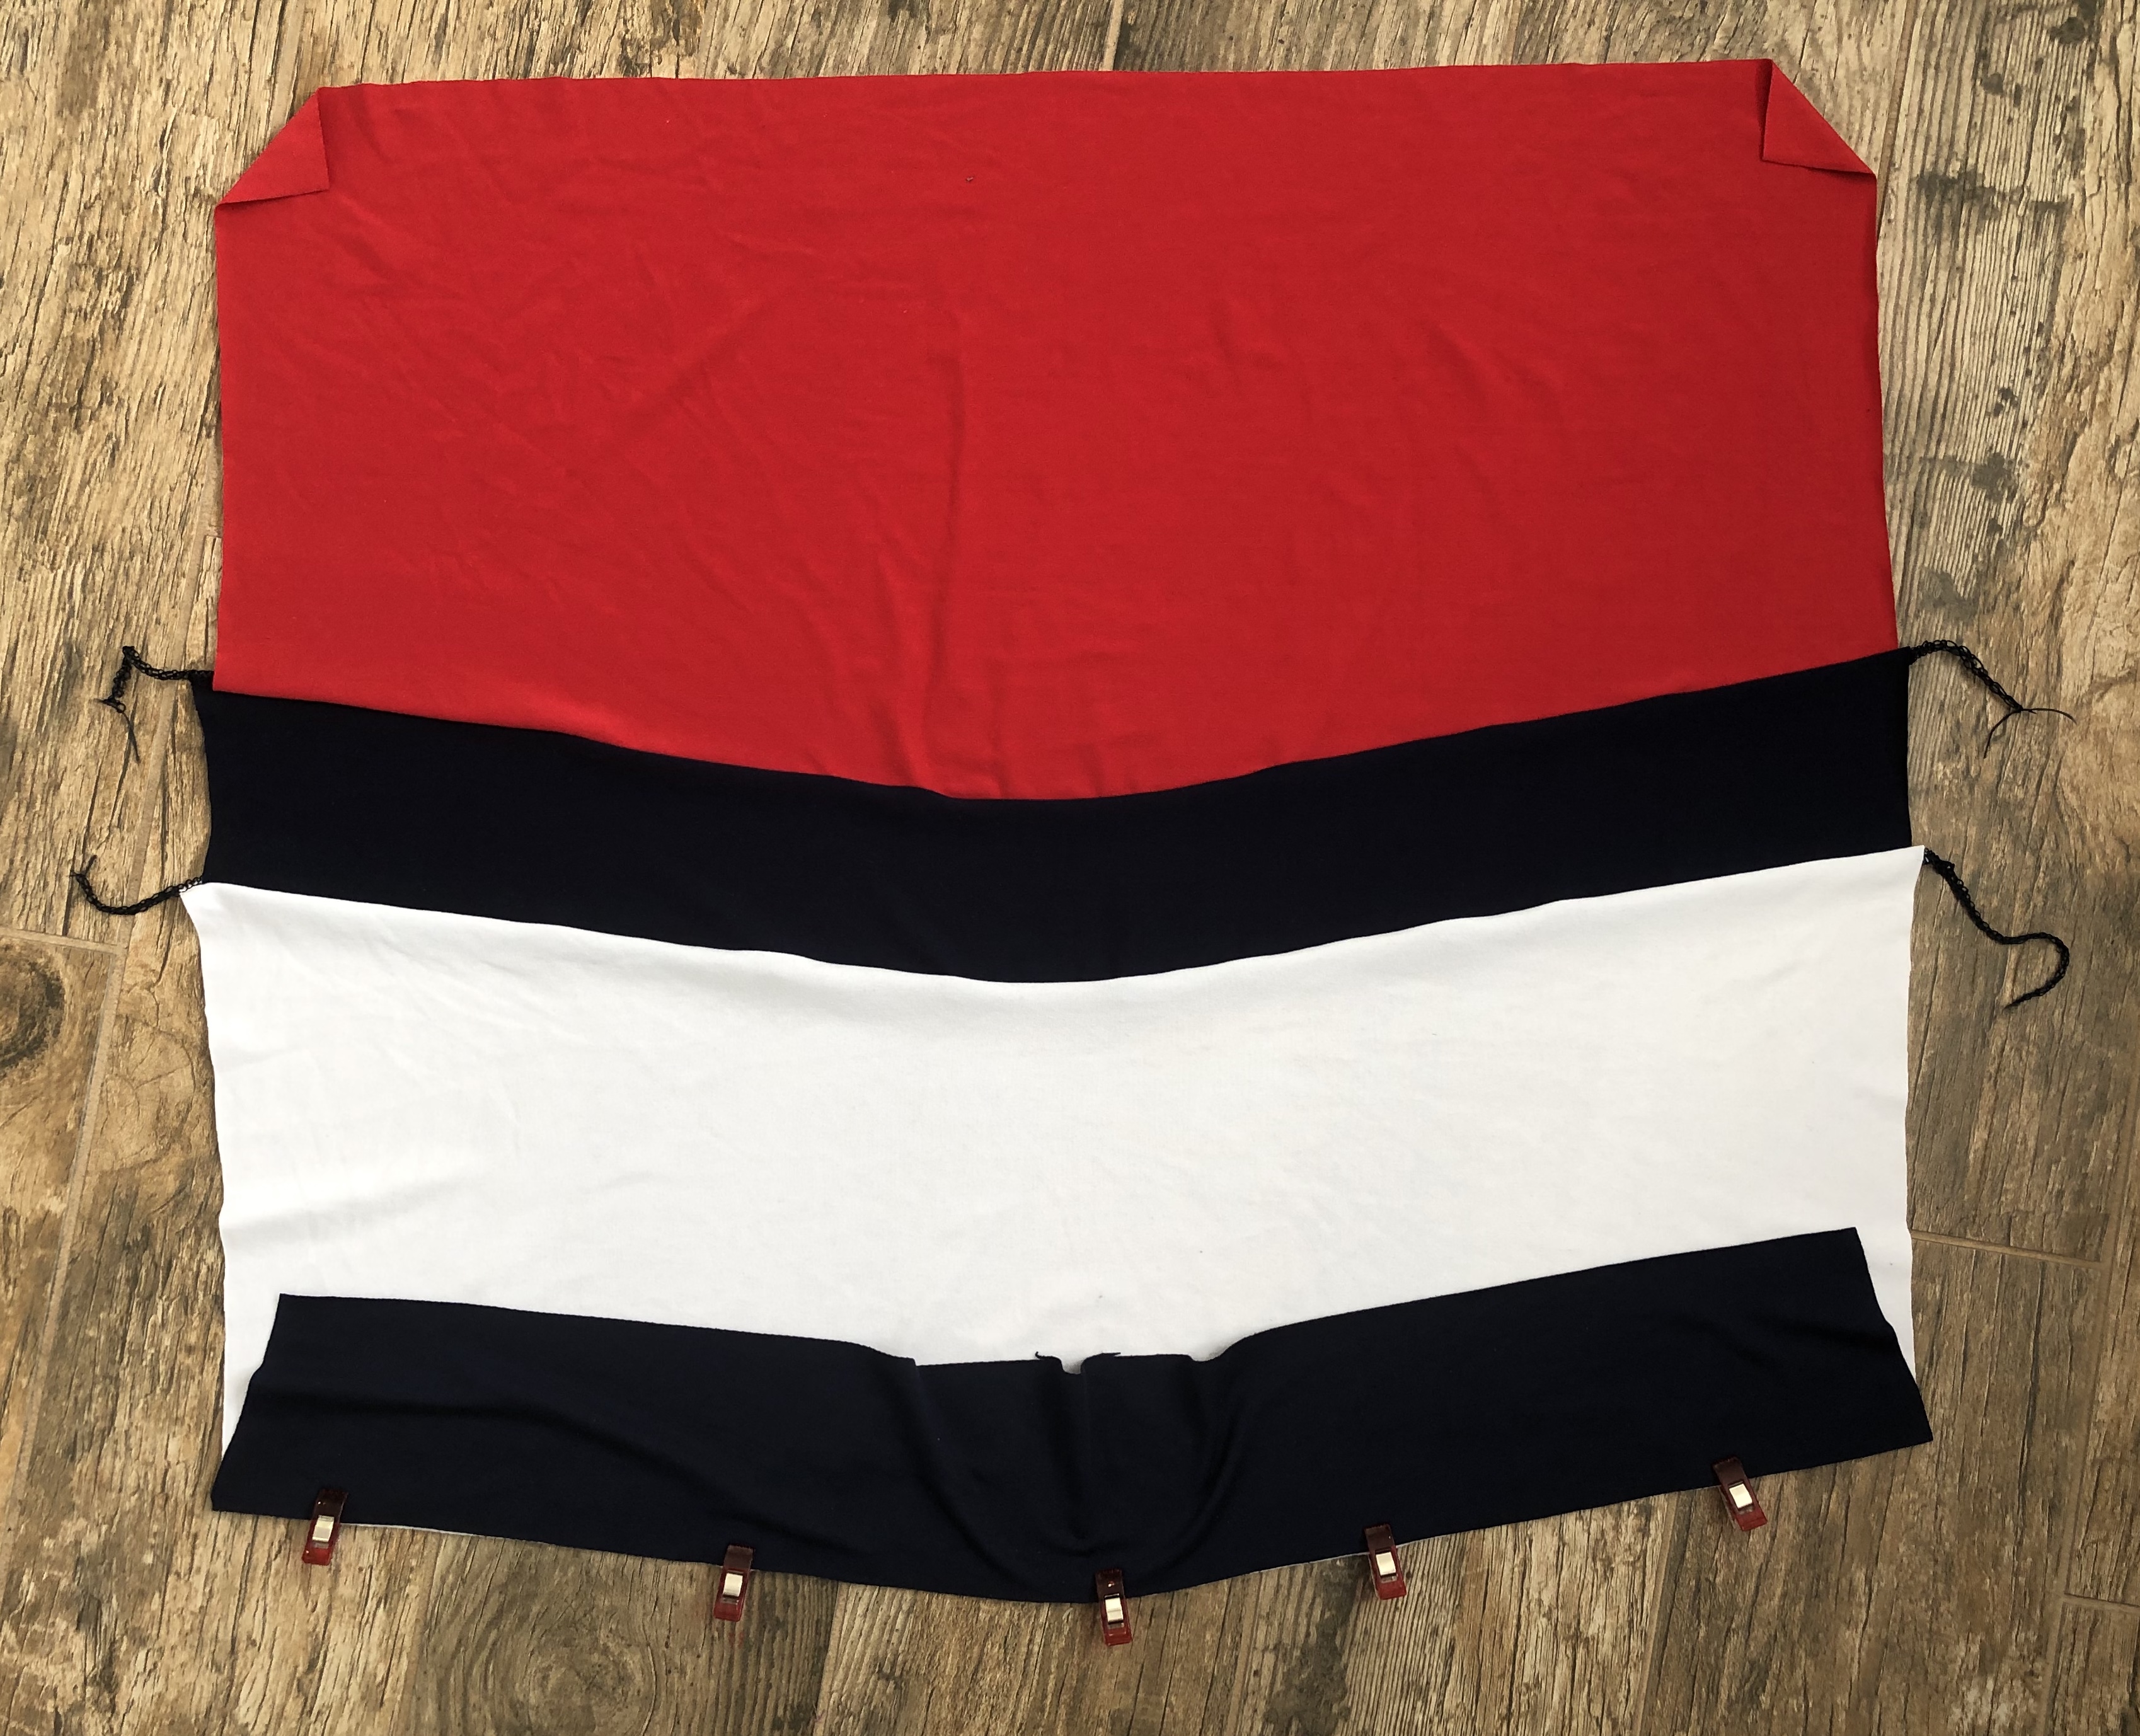
Take your R1B1 piece and lay it right side up again. Place your W piece right side down on R1B1, lining up the bottom of R1B1 with the top of W. Clip and sew that seam. Repeat for the back skirt piece.

IMG_1622

Take your R1B1W piece and lay it right side up again. Place your B2 piece right side down on R1B1W, lining up the bottom of R1B1W with the top of B2. Clip and sew that seam. Repeat for the back skirt piece.

IMG_1623

Last one! Take your R1B1WB2 piece and lay it right side up again. Place you R2 piece right side down on R1B1WB2, lining up the bottom of R1B1WB2 with the top of R2. Clip and sew that seam. Repeat for the back skirt piece.

IMG_1625

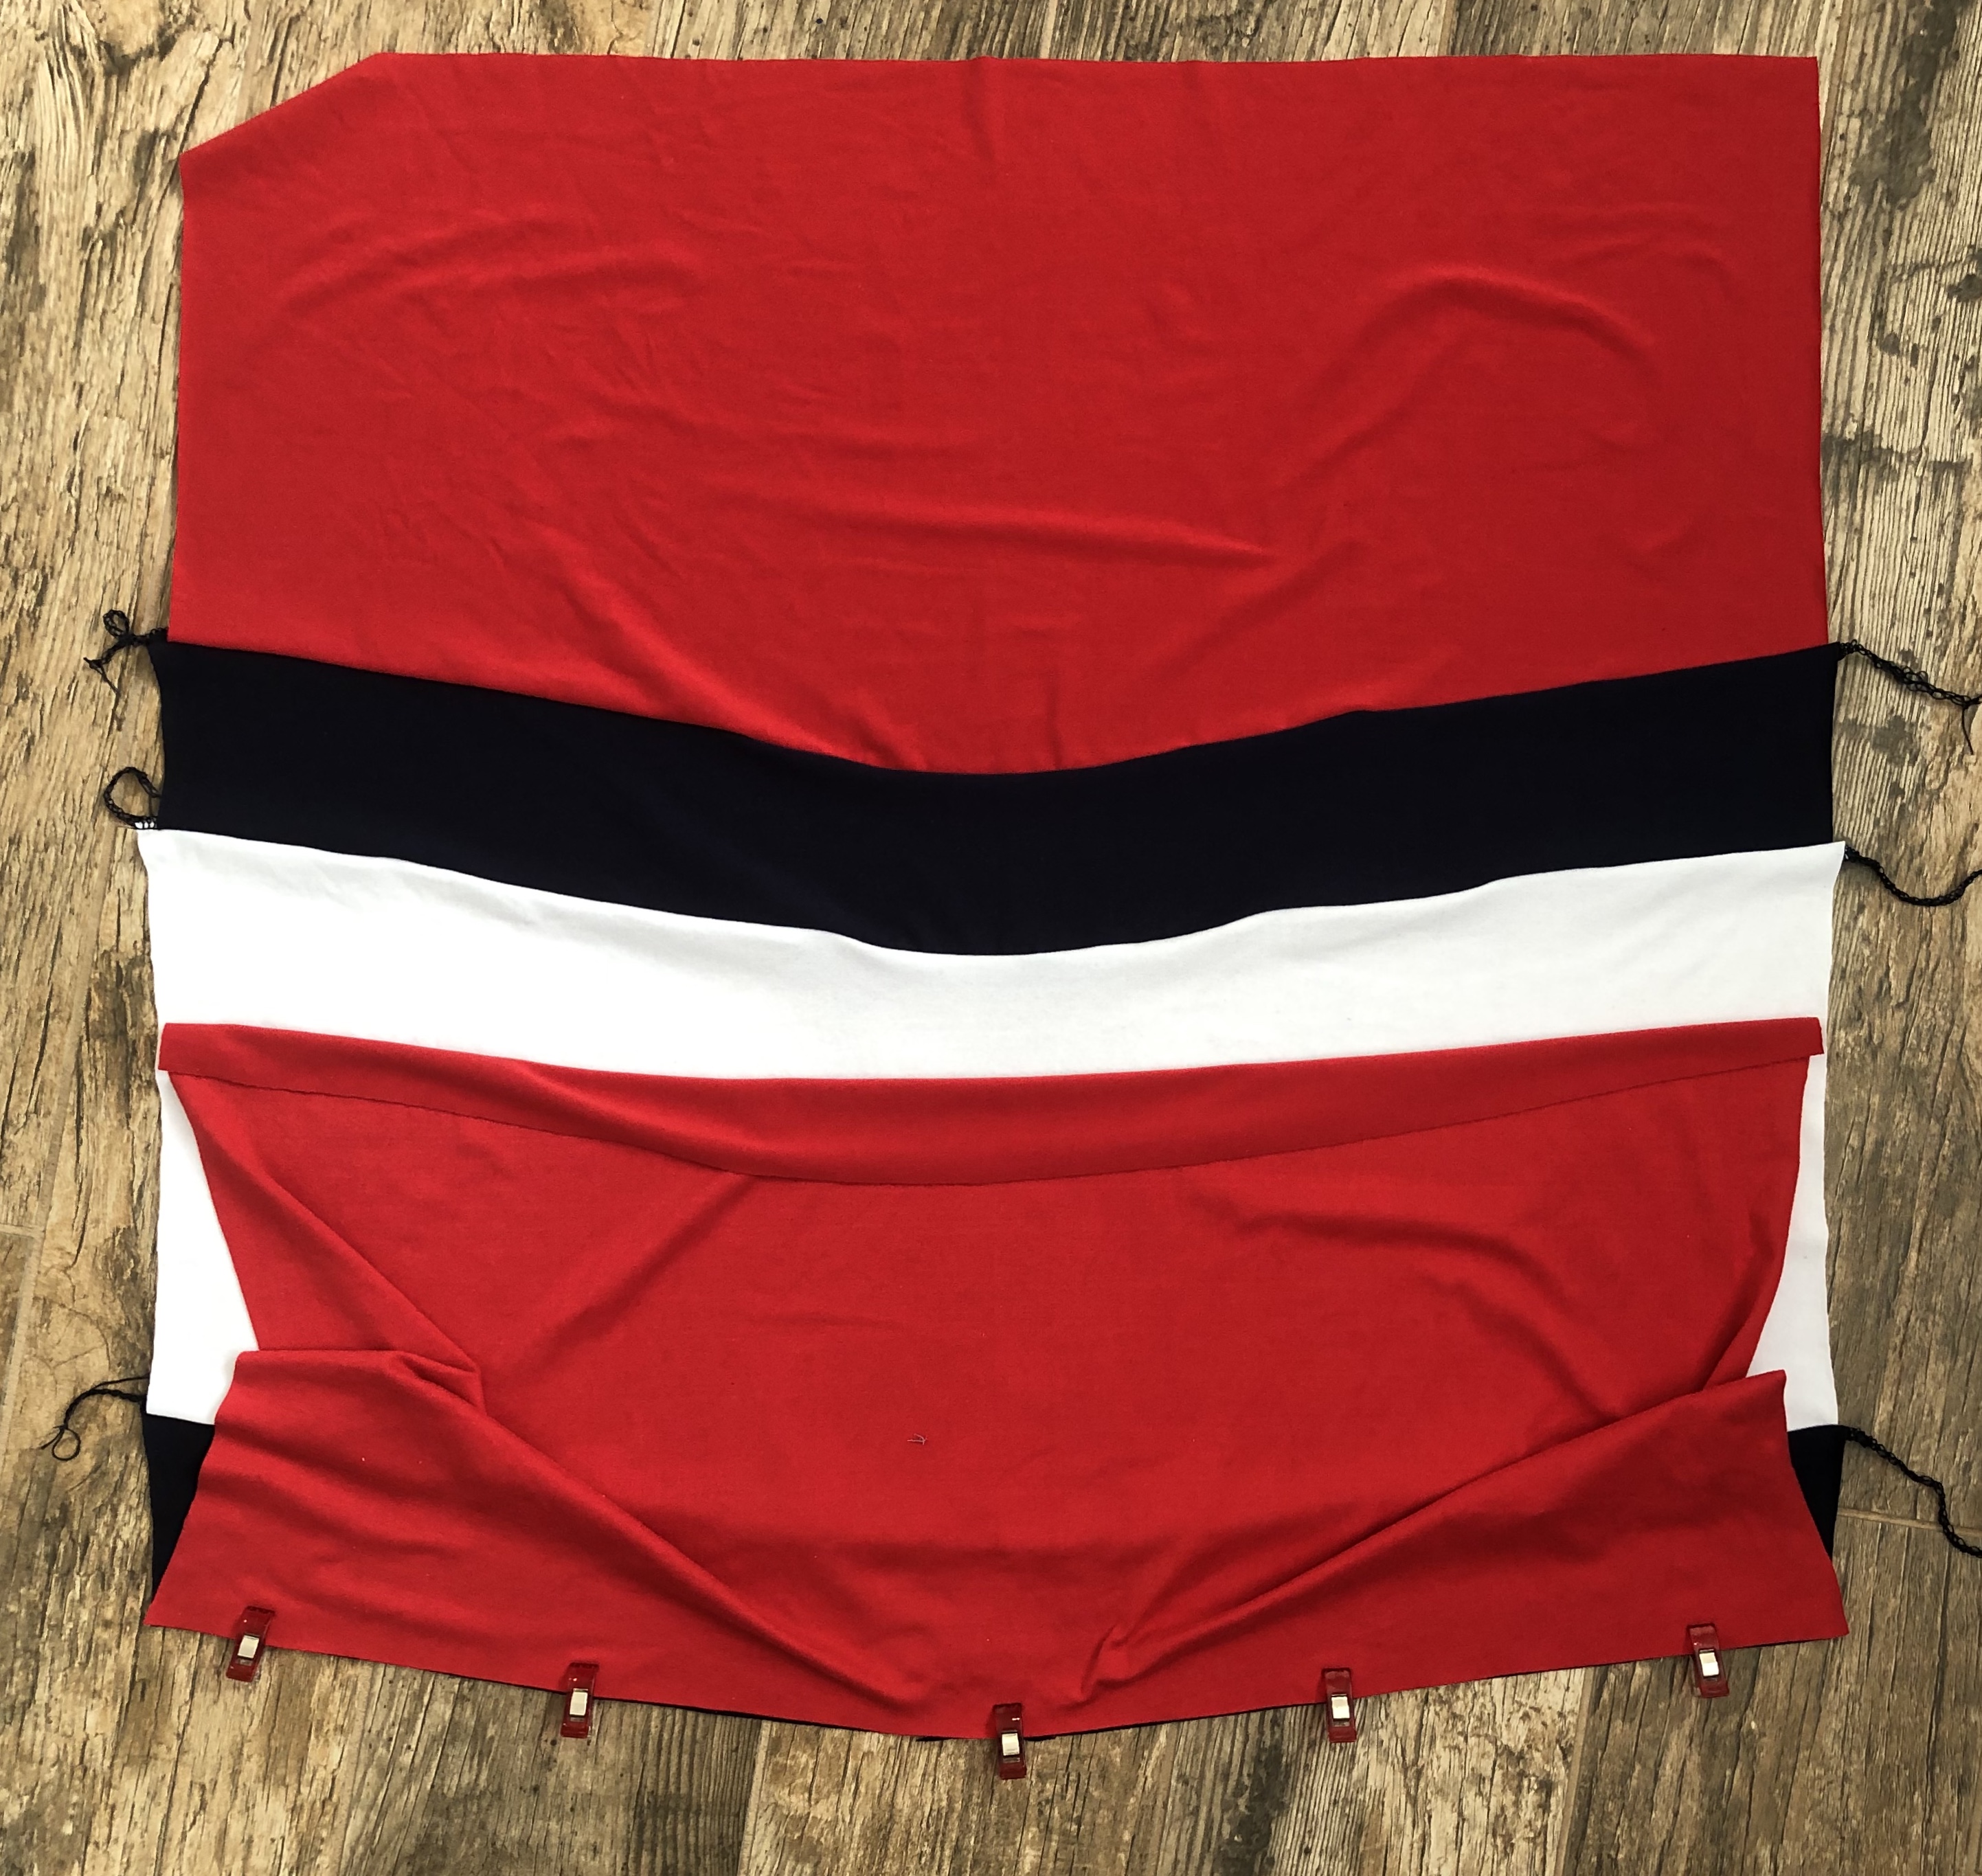
Now you have your front and back skirt pieces complete and you can attach them together and finish the dress exactly like the pattern instructs.

IMG_1626

We really love our matching pinspiration and are on the lookout for our next color combos.

PAII9462

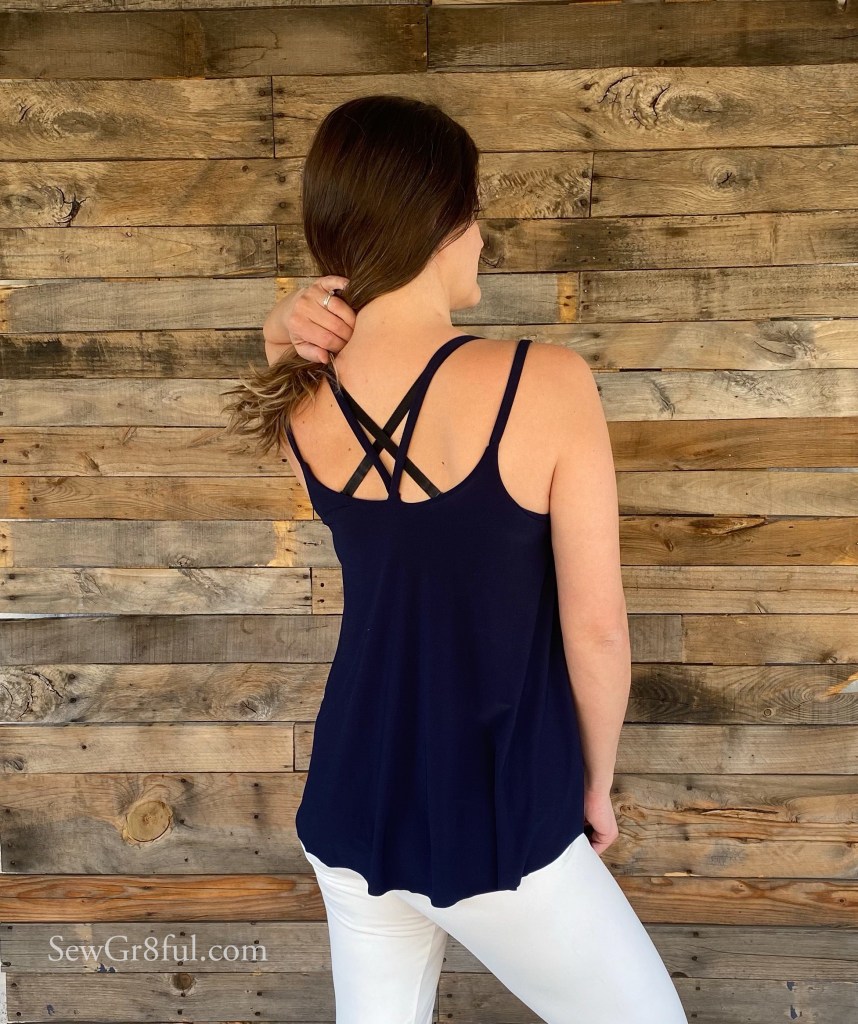
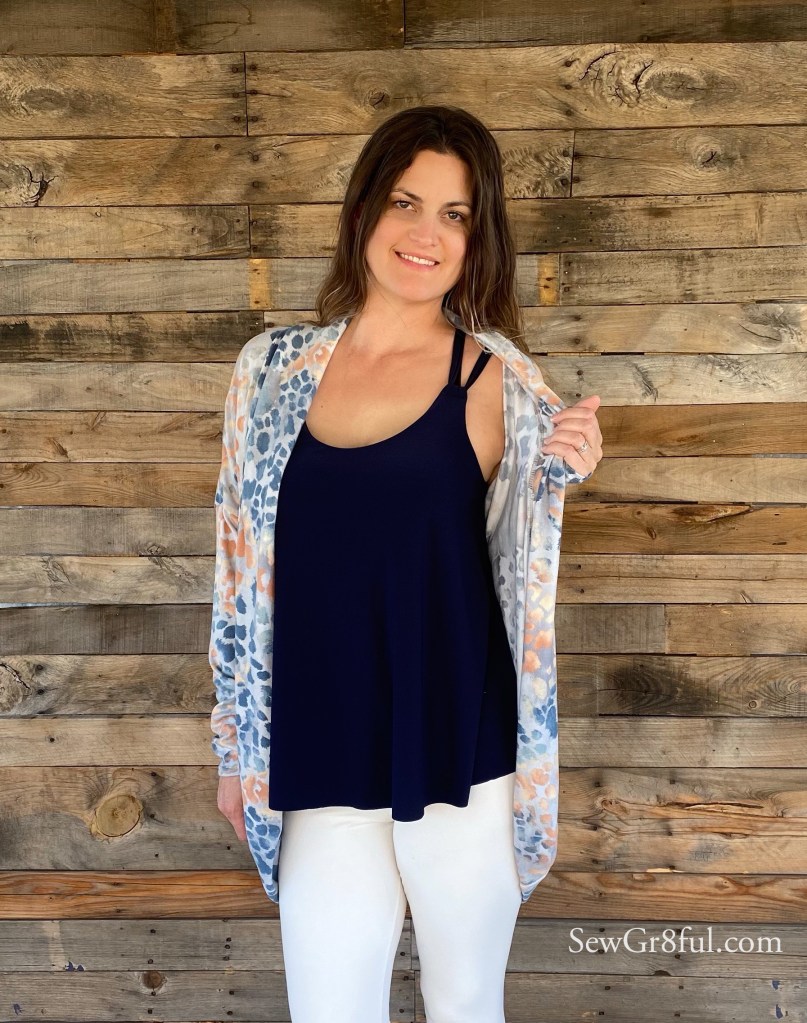
Pattern used was the Womens and Girls Lexington from Annelaine patterns which is on sale through February 13th. We used the empire, floor length maxi, sleeveless, and the scoop neck options. Fabric was red, white and navy solid double brushed poly from Amelia Lane Designs. If you haven’t heard of Amelia Lane, they are a newer fabric company. They have some pretty neat offerings and I’ve been impressed with the quality, shipping speed, and customer service. They are currently having a site wide 20% off sale with code PERFECTPAIR ending February 17th.

This post may contain affiliate links. This means if you make a purchase through that link, I may get a % back, at no additional cost to you. Let’s be honest, we all know it goes right back to adding to my fabric stash. All opinions on this blog are my own.

The Melissa Sweatshirt – A Happy Accident

Let me start this by saying, the DIBY Club holds a special place in my heart. Jessica, (the boss lady of the DIBY Club) gave me my first real opportunity at being a pattern tester, a little over a year ago. Not only was that insanely exciting and intimidating, but I learned so much!! I used wovens, buttons and buttonholes, zippers, and yes, we even made jeans, that fit! (insert happy dance) Testing for her gave me the confidence to branch out and continually challenge and redefine my comfort zone so I could grow.

If you haven’t seen a DIBY club pattern, I highly recommend checking them out. The patterns are like taking a class. No joke! There are videos and in depth instructions to help you get the right fit for your body. The patterns are chock full of tips and extra little details that really make a difference, especially when going out of your comfort zone. She even put all the extra time and goodies in her recently released men and women’s free patterns! LOVE!

When the opportunity to test the Melissa sweatshirt came along, I knew as soon as I saw the tester call that I wanted to apply. My schedule and health were good. The stars aligned, as they say, and I applied.

I applied to test the banded version and thought it would be the perfect opportunity to use my purple brushed french terry from So Sew English Fabrics.

img_0177The brushed french terry screams sweatshirt to me. It has the soft smooth feel of french terry on the outside. The inside is brushed which gives it this fuzzy soft cozy feel, no loops.

Like I said, perfect for this sweatshirt.

Since the pattern only needs 2-way stretch fabric, it really opens up your fabric choices too. I see you, you gorgeous 2 way fabric just sitting on that shelf. 

I did my usual grading, I cut out my fabric, and I was ready to rock this test!

Then it hit me. I cut out the wrong lines! Ugh, total face palm!

After I debated with myself on cutting off the excess fabric (cringe worthy waste) or taking a total chance and making the elastic bottom (which I was sure would emphasize certain things I didn’t want emphasized), I decided to once again step out of my comfort zone and save the fabric. Somebody give me a cape because the fabric saver is here! Dun dun, dun, dunnn!!! It’s true, my fabric stash agrees, I rescue fabric.

Fabric saving aside. I sewed it up, tried it on, and I absolutely loved it! I was shocked. I really thought I would hate it and end up chopping the elastic off and adding a band. Nope, my happy accident, elastic version Melissa, was perfect.img_8902

It was a quick sew, which for me means less than 3 hours with kiddo interruptions. The pieces lined up properly and things went together smoothly. There is even a video included on how to install the elastic! I particularly like how the elastic is covered for comfort and it looks really clean like a RTW (Ready To Wear) garment.

img_0178
Inside Elastic Wrist

The Melissa has two hem styles in addition to the elastic, single fold and banded. It has two lengths, regular shirt or cropped, and you can use any of the hem styles for either. It has the options of adding a kangaroo pocket and a hood too! The hood is lined and has panels. The panels really give it a nice shape when wearing, nothing pointy about it. The sizing range is 00-36 and it looks so great across the board. The options I did on mine were the regular shirt length, elastic hem and sleeves, with the crew neckline. Which options are your favorite?     

img_8908

Since the Melissa just released it is on sale right now and you can check it out here . Make sure you scroll down on the listing and look through the tester gallery to see more versions. Also, little tip, if you sign up to be a DIBY insider you get additional discounts and special emails when she has new releases and sales. Yay for insider info!!!

I’m thinking of pushing myself out of my comfort zone again and giving that cropped version a try, it is so cute!!! Until then I will stay cozy in my happy accident, that I can’t stop wearing.

img_8914

This post may contain affiliate links. This means if you make a purchase through that link, I may get a % back, at no additional cost to you. Let’s be honest, we all know it goes right back to adding to my fabric stash. All opinions on this blog are my own and I have a lot, ha ha ha.