I have always loved rompers, from afar. I decided last year that I wanted to make one for myself. So I bought 4 patterns, and promptly proceded to let them sit.
As one of the day three stops, on the New Horizons Designs Summer blog tour, it was the perfect time to sew up my first romper, the Bayside, and I love it!
Before I get into the details about my romper, let me tell you about the awesome giveaways and generous prizes from the sponsors!
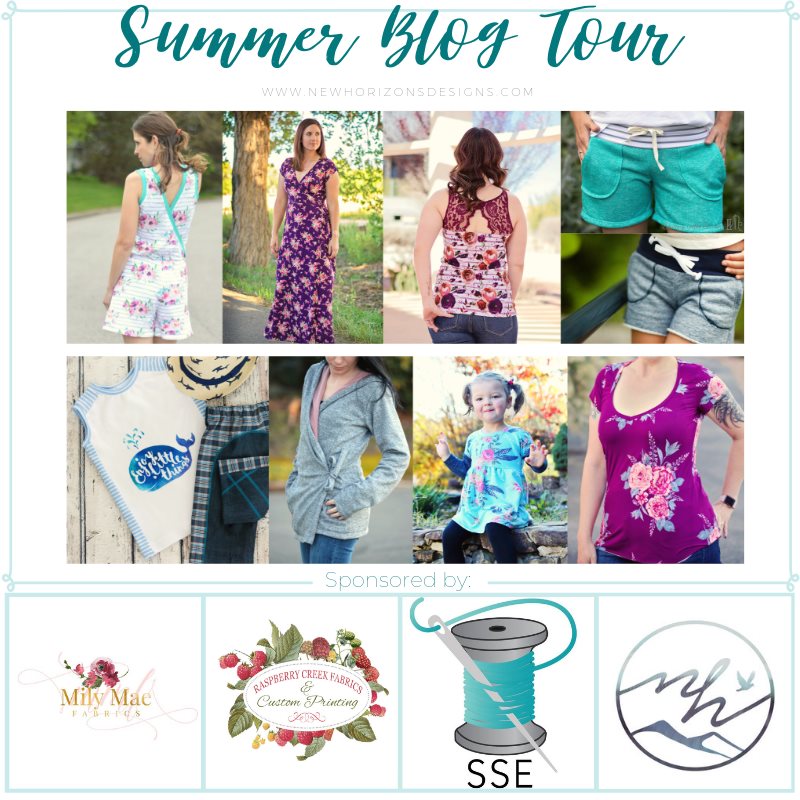
One Grand Prize winner will receive ~ 3 New Horizons Designs Patterns, a $50 gift card to Raspberry Creek Fabrics, and a $35 gift card to So Sew English Fabrics
One 2nd prize winner will receive ~ 2 New Horizons Designs Patterns and a $50 gift card to Raspberry Creek Fabrics
One 3rd prize winner will receive ~ 2 New Horizons Designs Patterns and a $30 gift card to Mily Mae Fabric Shop
If that wasn’t enough, So Sew English Fabrics is offering everyone, a 10% off code to use on one order. The code is NHSUMMER and is valid through June 8th, midnight, PST.
If you didn’t enter the drawing yet, be sure you do so, here !
Now, about my romper 😍
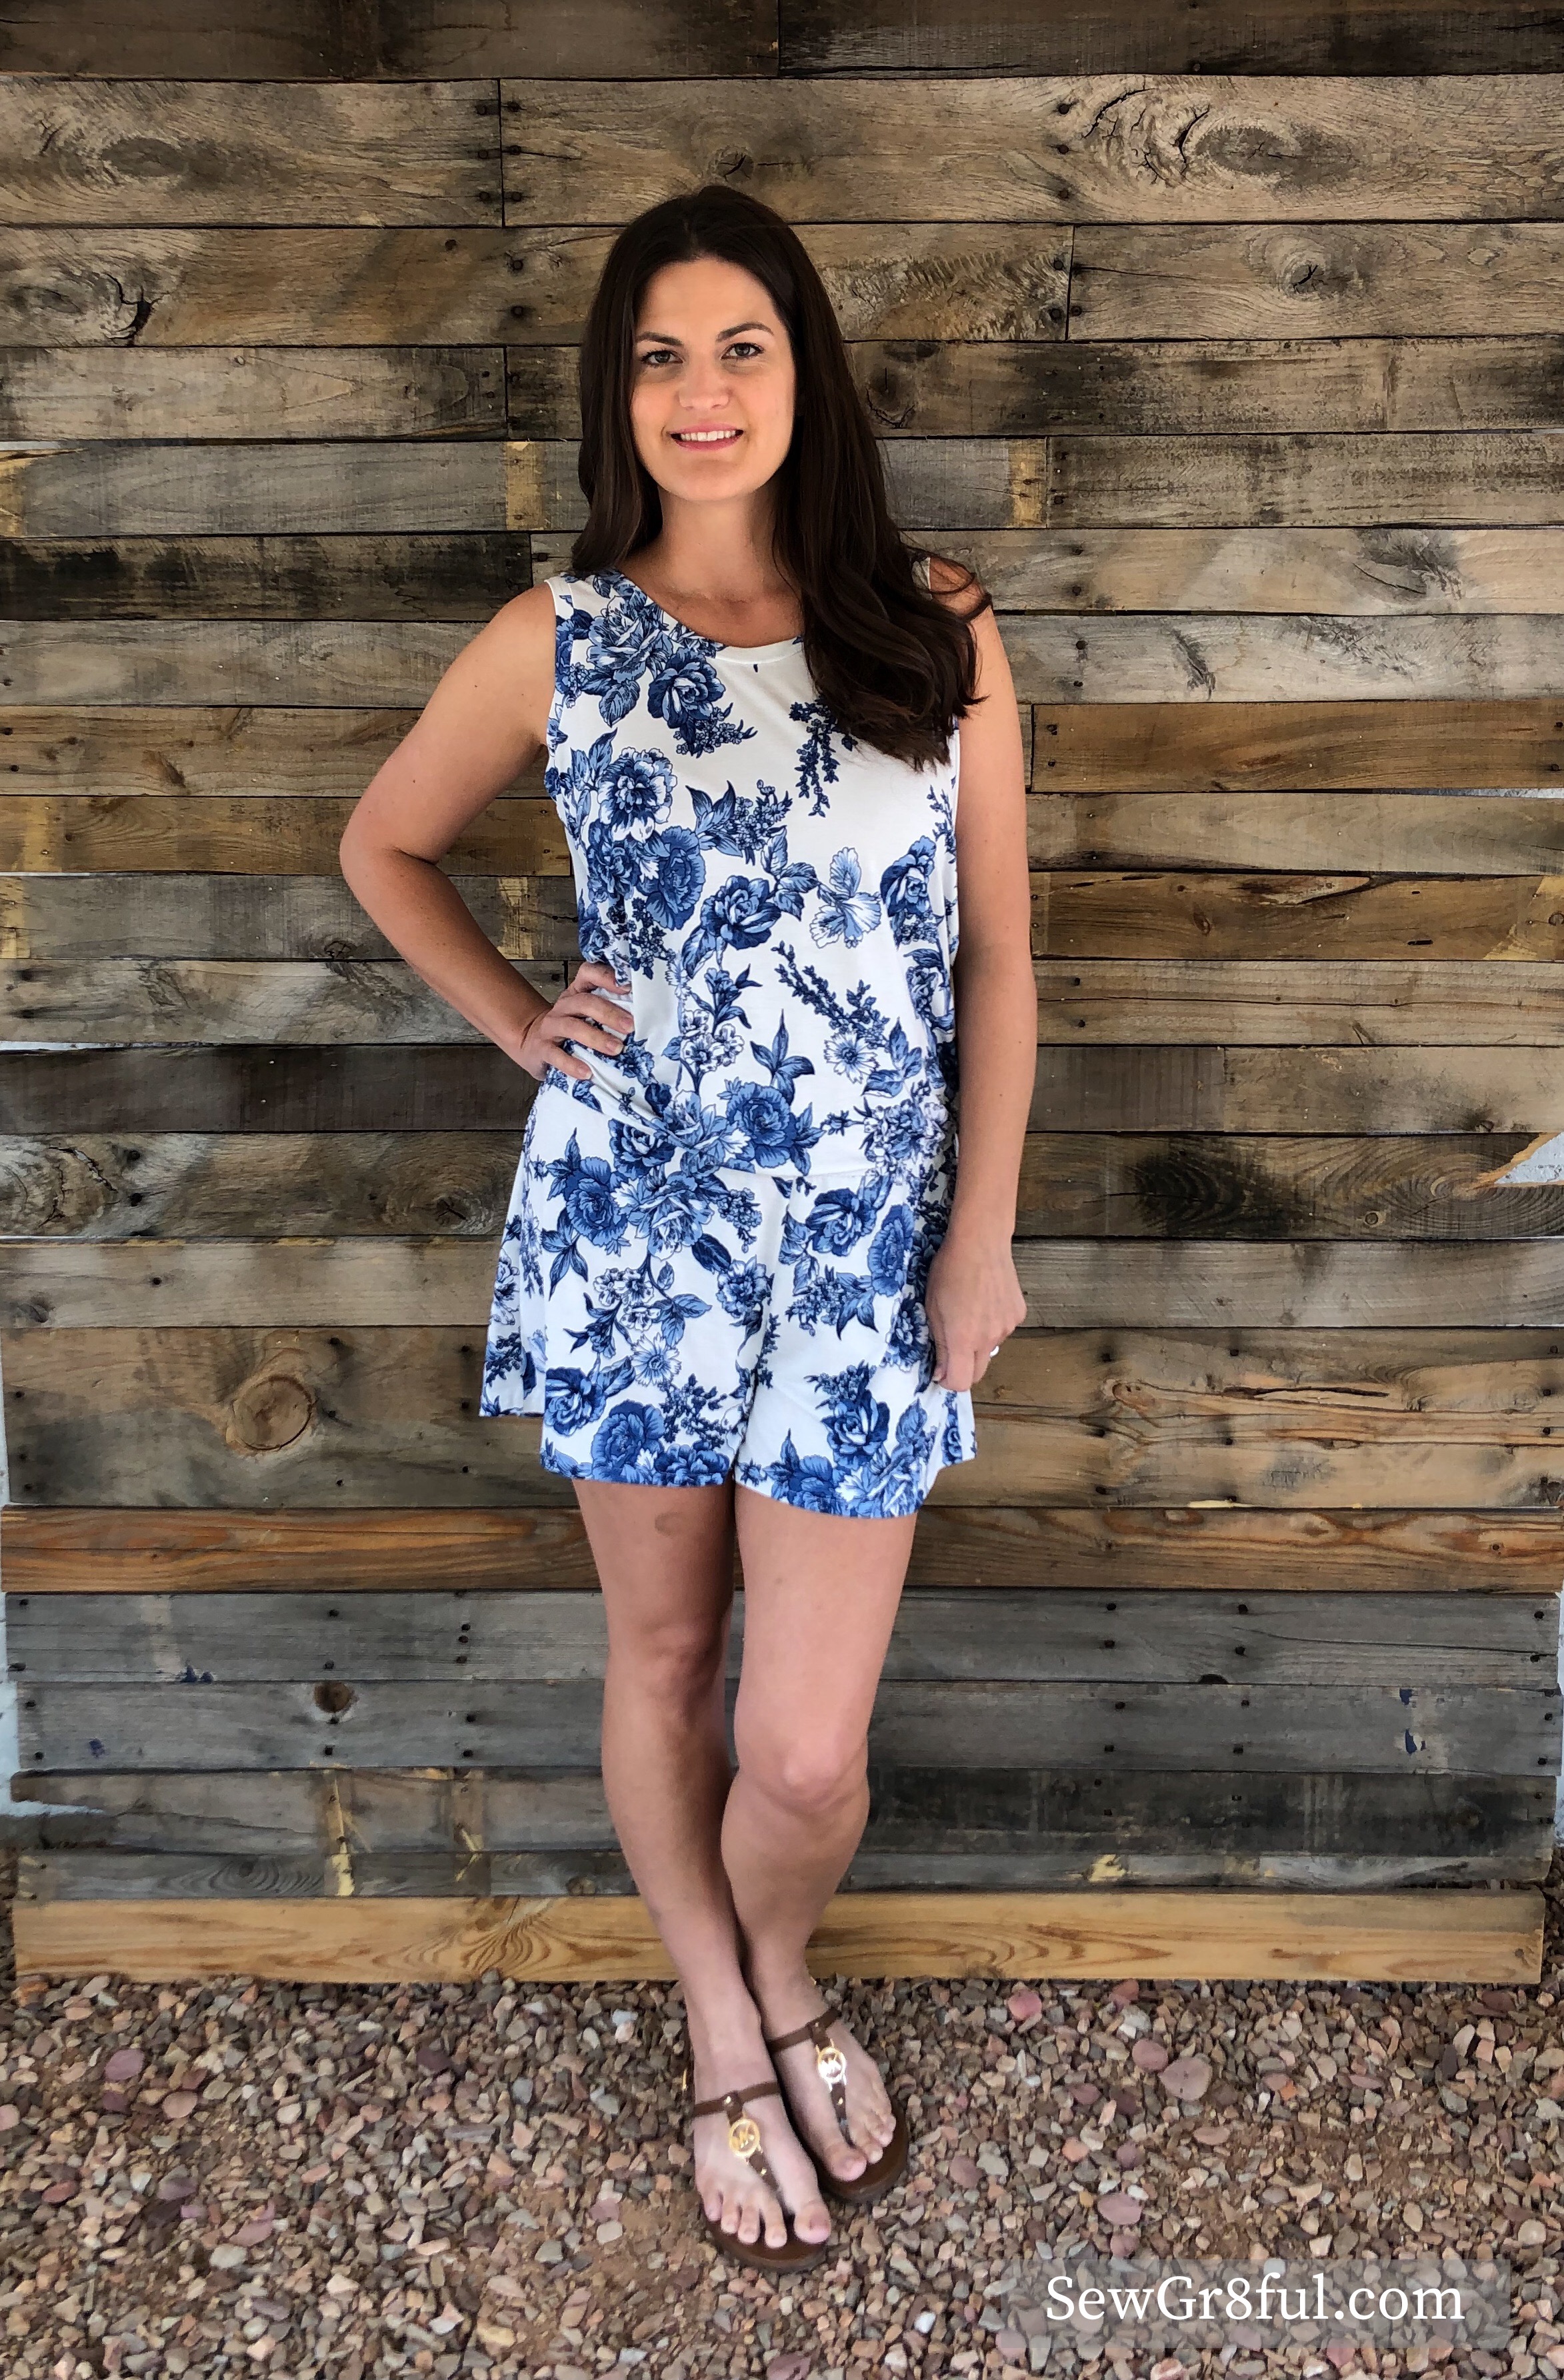
The Bayside Romper has several options, which allows for so many different looks and longer seasonal wear. If you live in warmer climates like I do, it’s even a year round pattern. You can do shorts or pants, plus dresses. The dress lengths are mini, knee length with a straight or curved hem, mid length, and maxi. Plus the two sleeve options of short or tank, and POCKETS. I made the tank with shorts for my first.
I was a little nervous about a one piece outfit since I am 5’9″ and have a longer rise. I picked my size based off the size chart, and then, before adding for height, I held the pattern pieces to my body to make sure I was adding in the right spots. I ended up adding 1″ and the fit is great.
The romper sewed up surprisingly quick, which is a huge bonus for a slow seamstress like me. If you are curious about how it sews up, you can watch my time-lapse video I made, here.
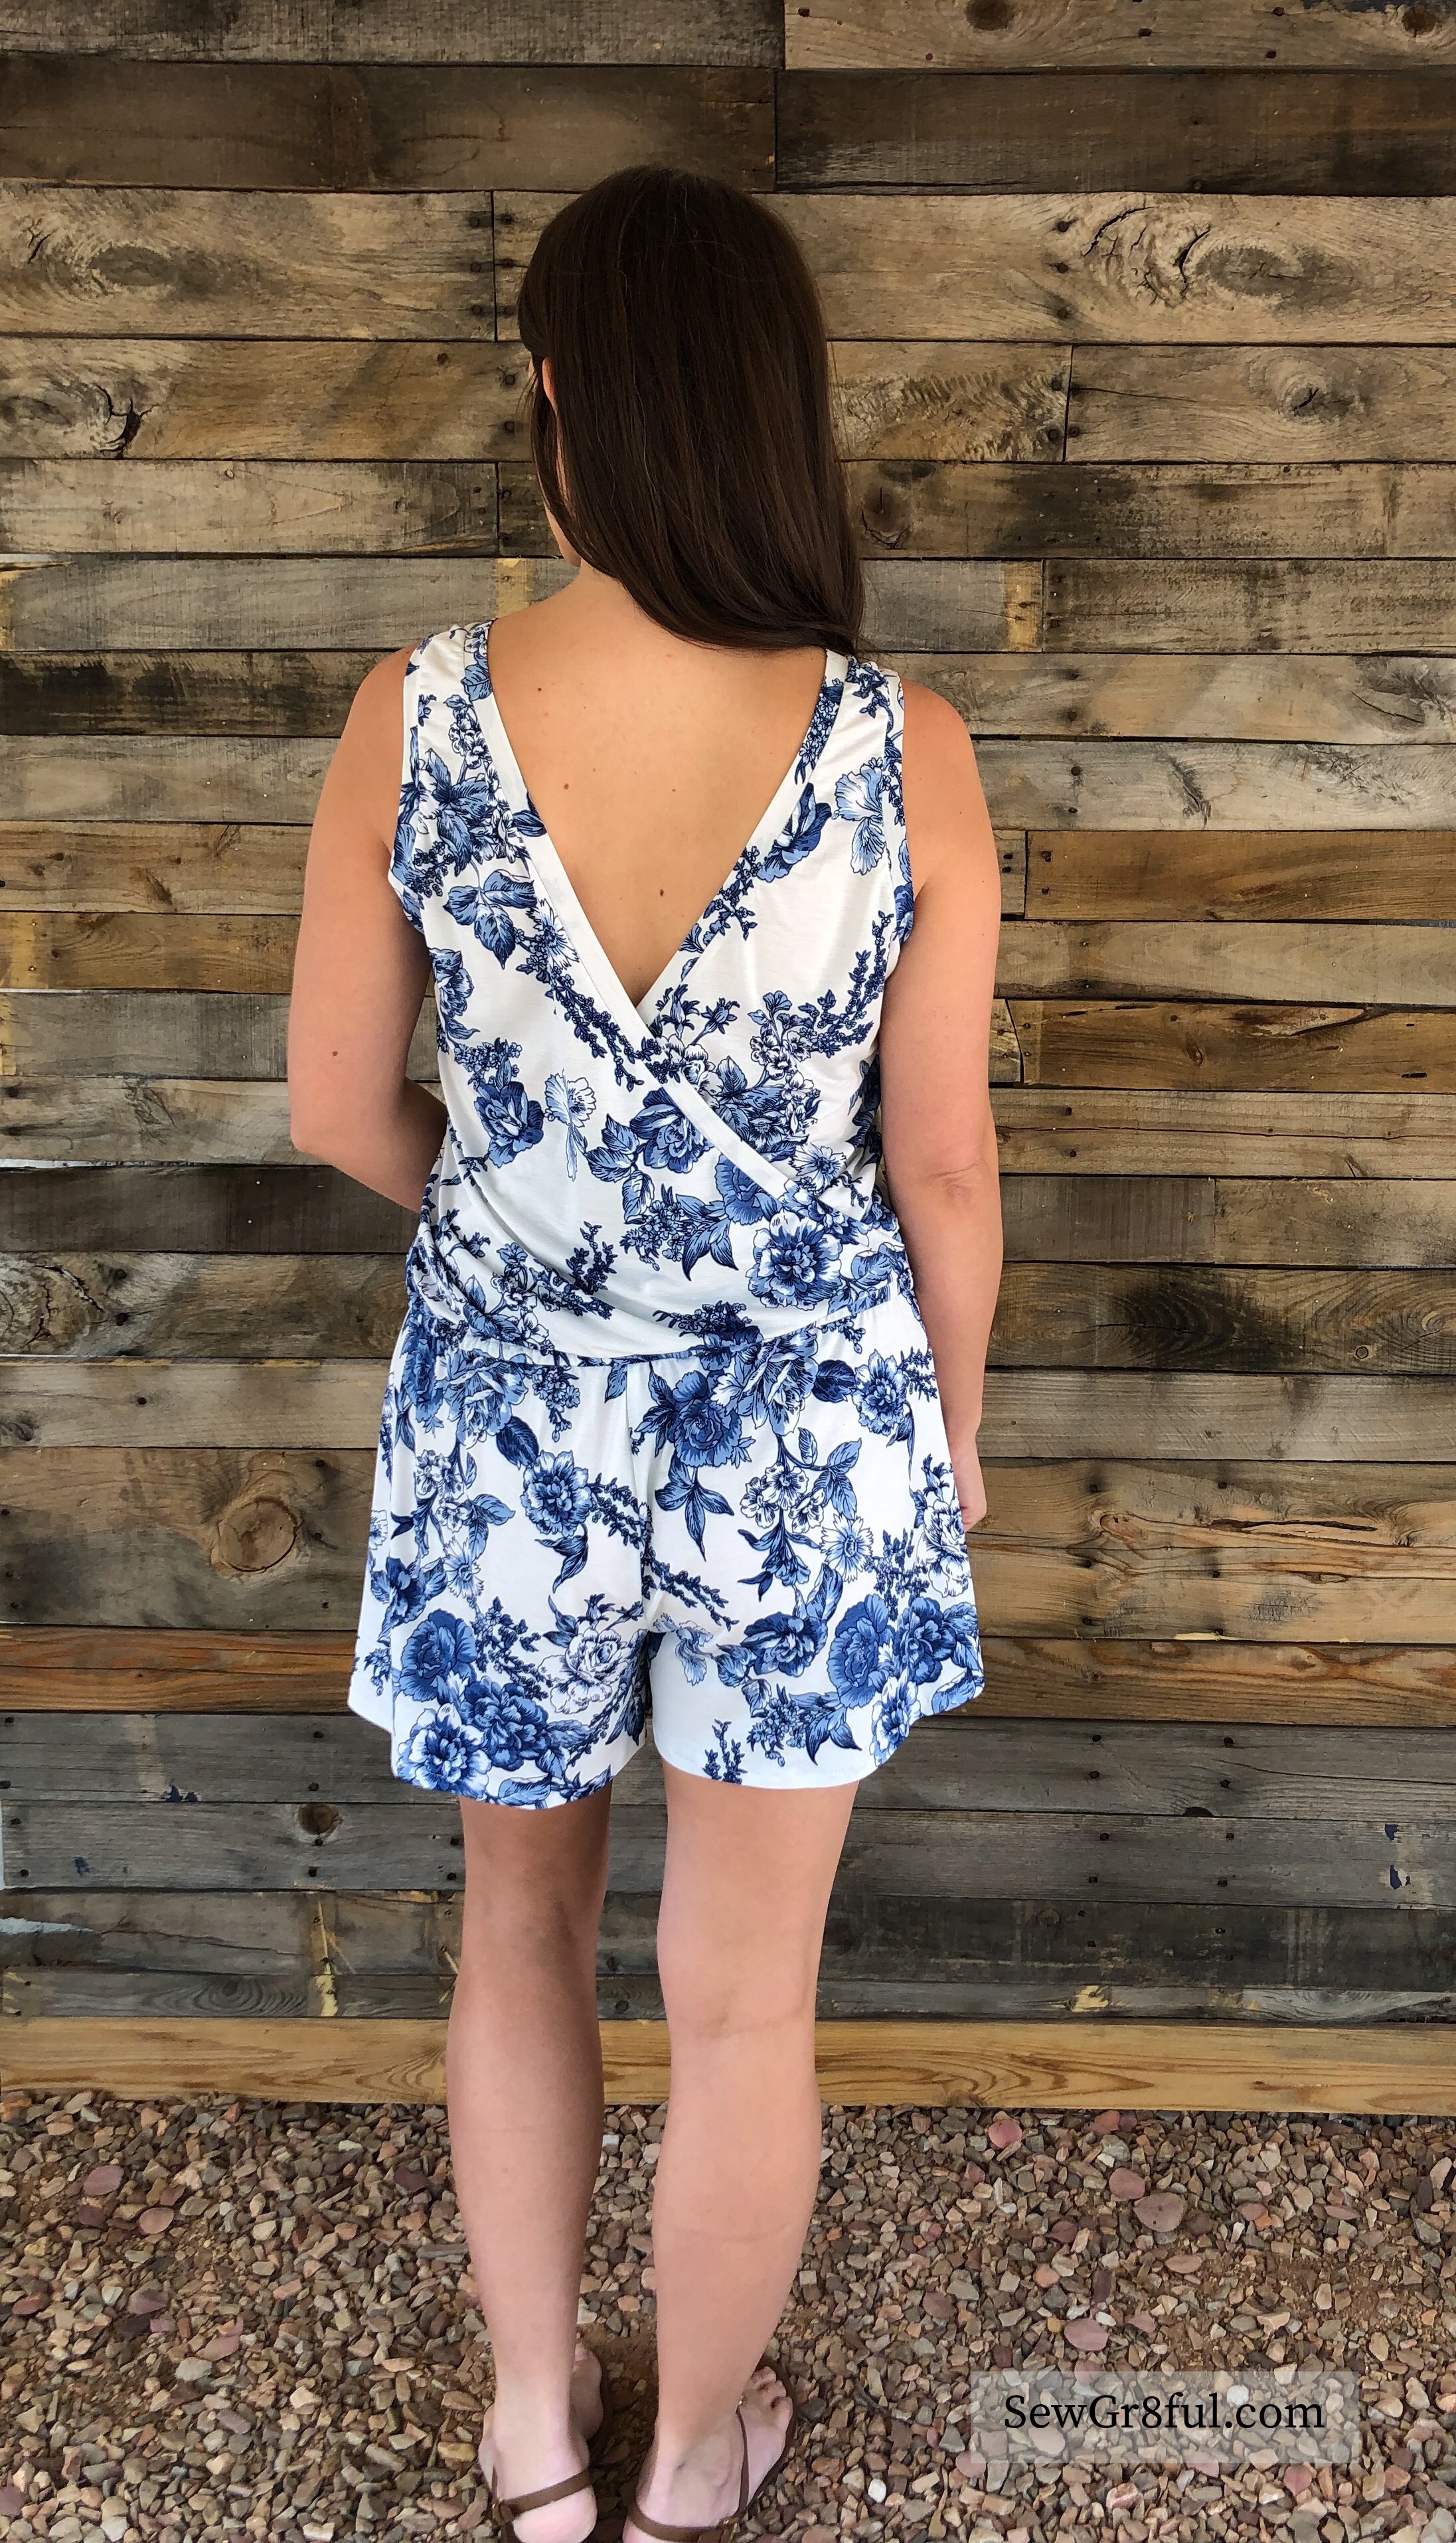
The only time I deviated from the pattern was not putting elastic in the back crossover. For some reason, I can never seem to get elastic like that, right. Since it doesn’t affect the fit, for me, I avoided it.
I did want to note, when attaching the band to the back crossover portion, I had a little difficulty getting it evenly stretched, so I broke it down into smaller portions by halfing the pieces each, and then attaching. You can see what I’m talking about, (at about 55 seconds ) in my time lapse.
I used this Blue China Floral Bulgaree ITY from So Sew English. Bulgaree Ity has a slight texture to it, has really great drape, and is one of my favorite fabrics, for summer especially. It also hides wrinkles amazingly well, which makes it perfect for trips. I have worn the romper several times and absolutely love it. I even tried it on backwards just to see.
Please tell me I’m not the only one that experiments with their clothes like this?? Since it looked good both ways, my kids keep telling me I’m wearing it backwards 😂
As an added bonus, all the patterns featured on this blog tour, will be on sale during the tour. So if you have been thinking about trying a romper for your summer wardrobe, now is the time to snag a great one.
Thank you for stopping by my blog 💕
Make sure you check out the other stops on the blog tour, to see all the great summer must haves, that are also on sale.
Monday June 3 – was Amanda Briles from Meadow Sews
Tuesday June 4- was Ashley Griffith from Creating Ashley
Wednesday June 5- is April Baylor from Sewing Novice
And – Danielle Thomas ( that’s me! ) from SewGr8ful
Thursday June 6- is Darcy Rochholz Bjertness from Sew Beeloved
Friday June 7- is Ingrid from Sewingrid
And – Yvette van Musscher from Droomstoffen
This post may contain affiliate links. This means if you make a purchase through that link, I may get a % back, at no additional cost to you. Let’s be honest, we all know it goes right back to adding to my fabric stash. All opinions on this blog are my own.