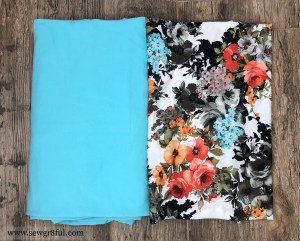
At the end of last summer I scored an awesome bundle from So Sew English Fabrics. The bundle had this beautiful mint ponte and the perfect complement of this Alyssa ITY.
Being the end of summer, I decided to wash it and put it away for this coming spring. Fortunately where I live, the time from summer ending and spring beginning feels relatively short, and it was here before I knew it.
I was indecisive as to making shorts or pants with the ponte, but decided to go with the pants so I could try out a new to me pattern. I picked the Patterns for Pirates, SOS skinny leg pants, and instead of doing the pattern waistband, I used the contour waistband from the Peglegs.
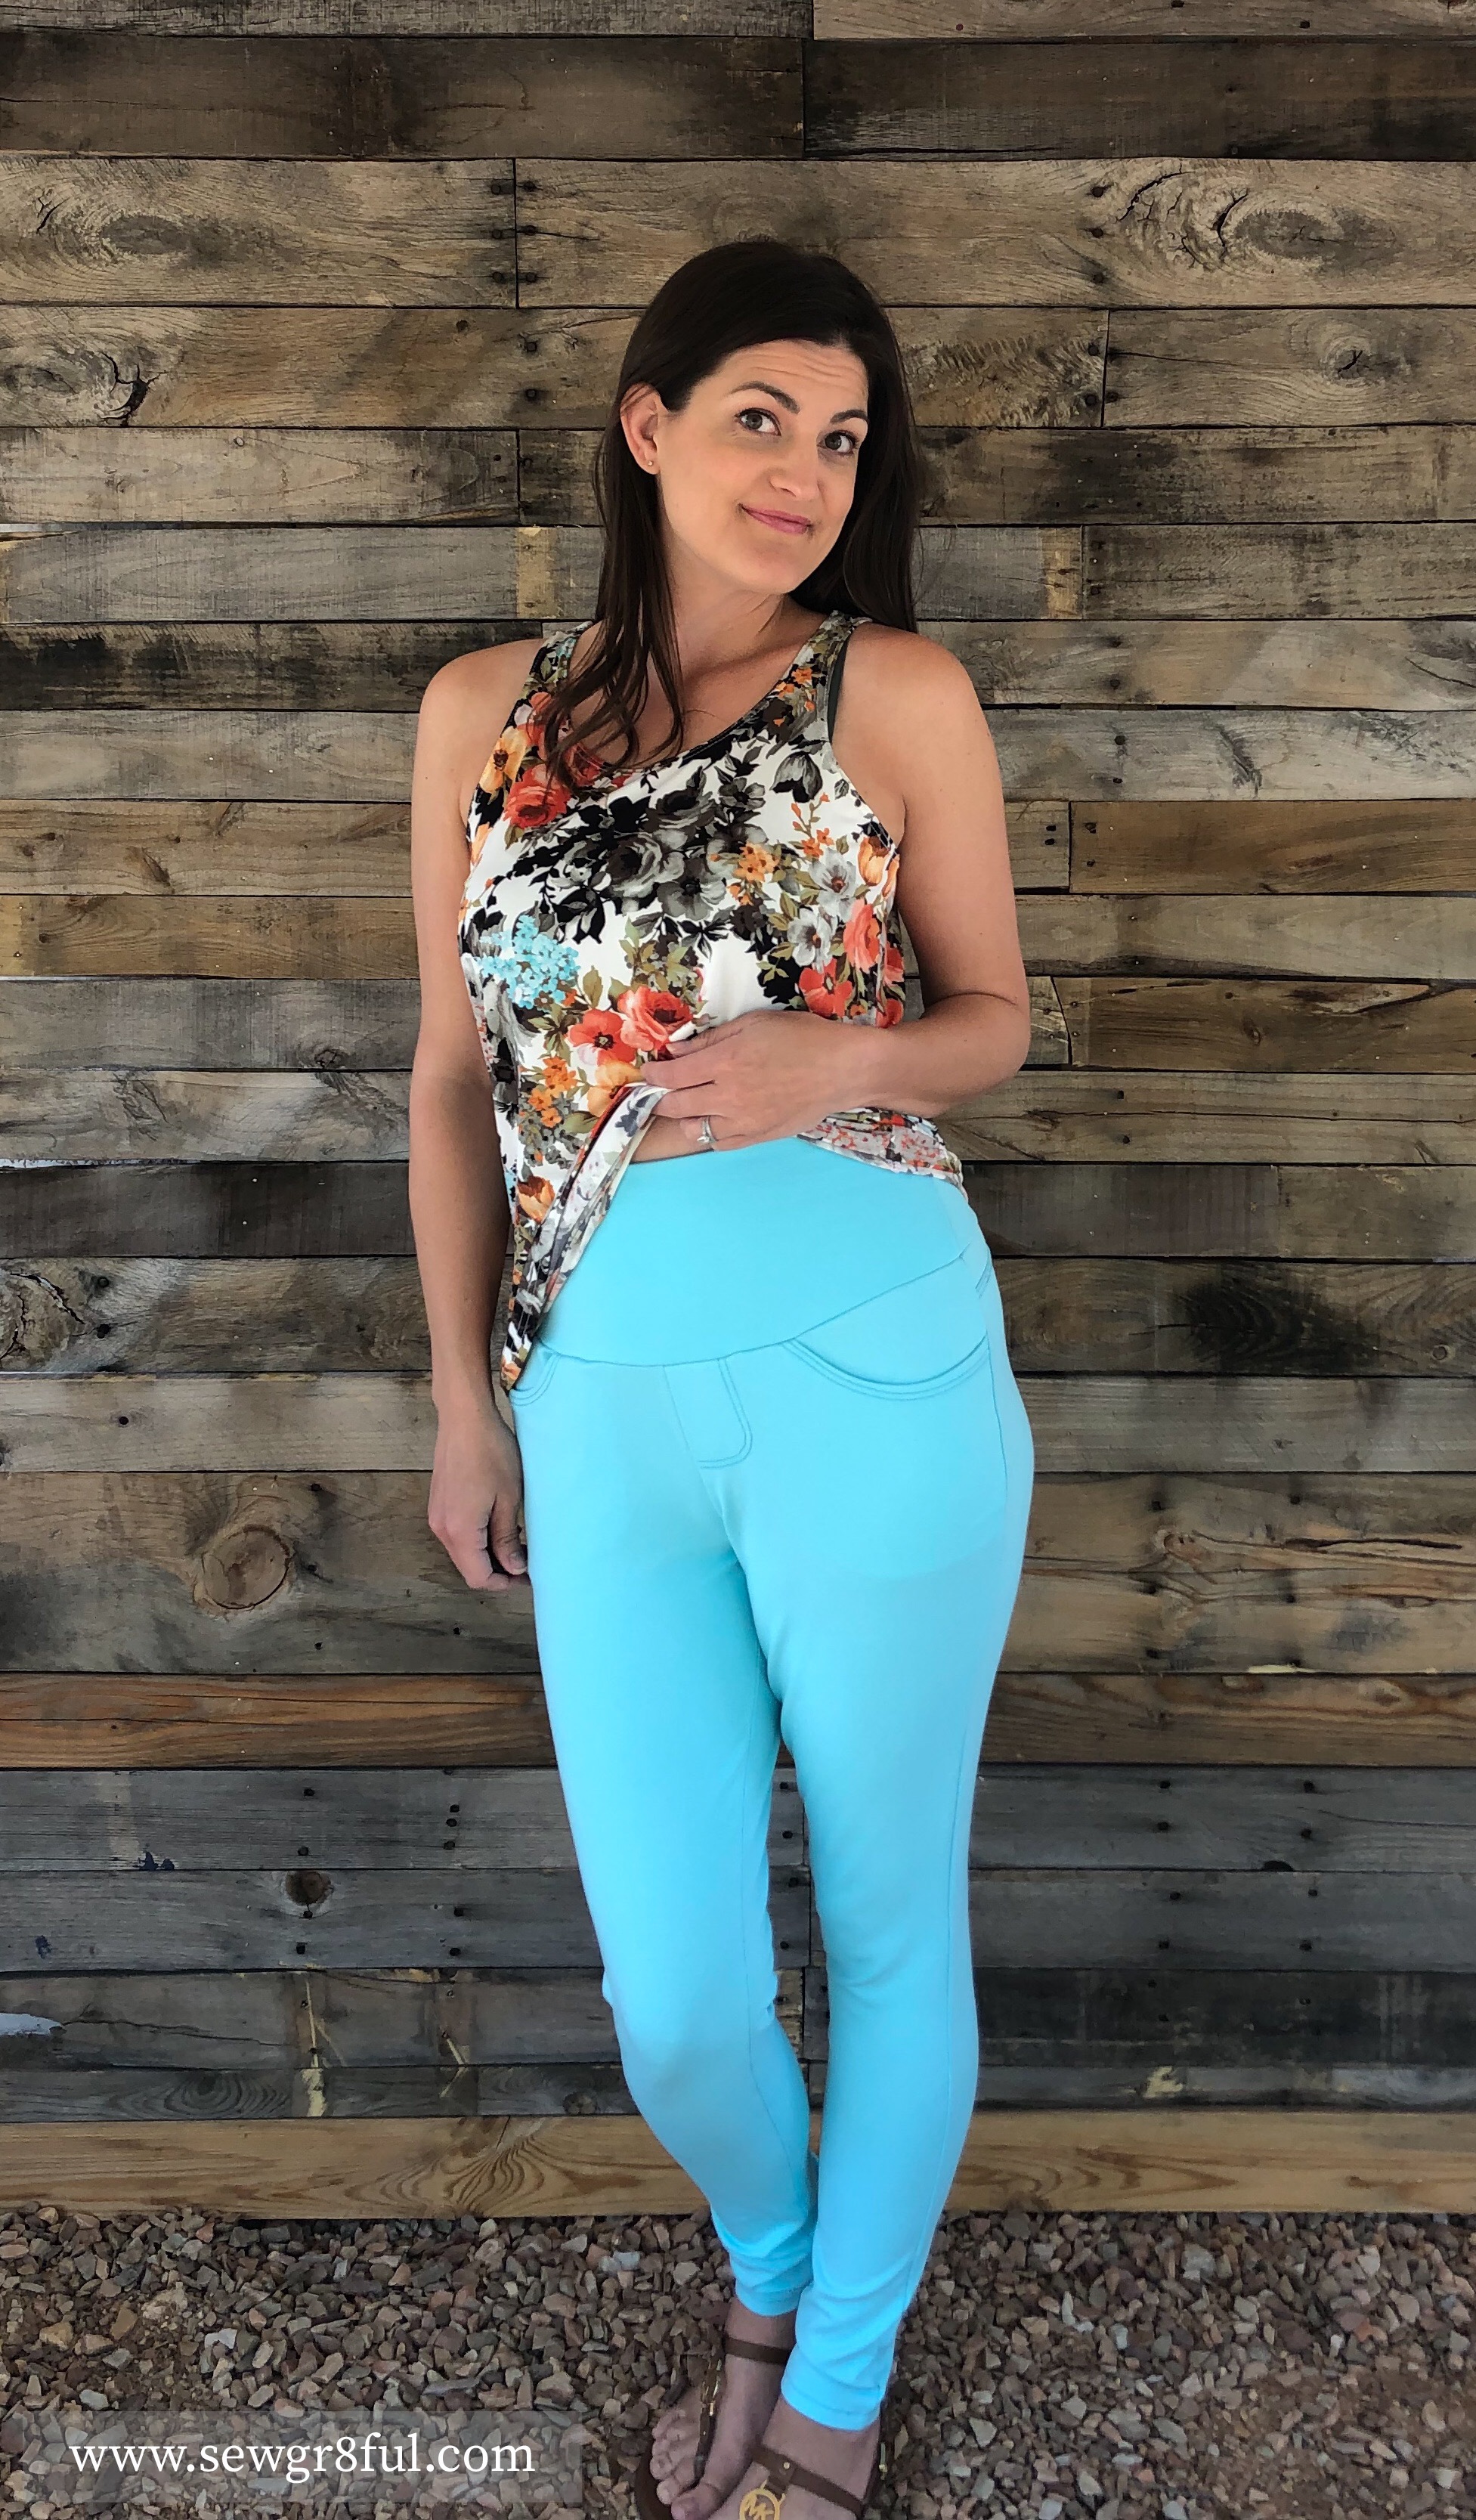
I decided to go with the contoured pegleg waistband for that extra stomach support and my personal comfort preference, due to my health stuff. I also chose the back pocket, faux fly, and front pocket options. I wanted them to look like pants even if they felt like leggings. Want to see the pants being sewn up? You can view my time lapse video here. An item to note: I did my pocket construction a little different than the pattern instructs.
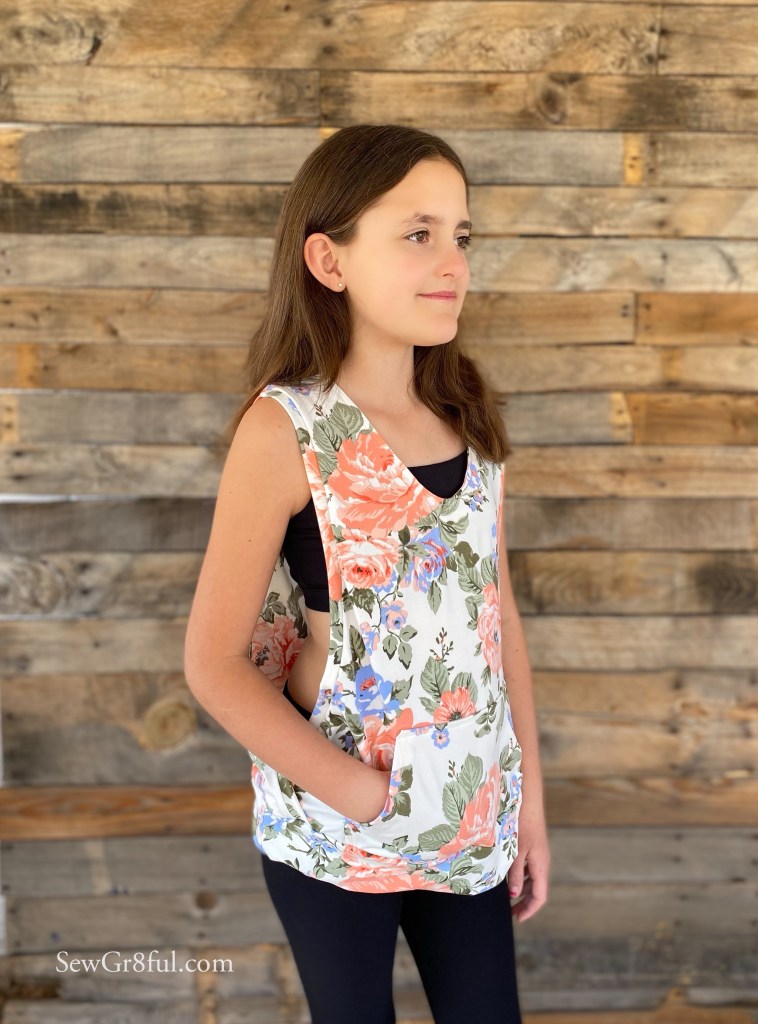
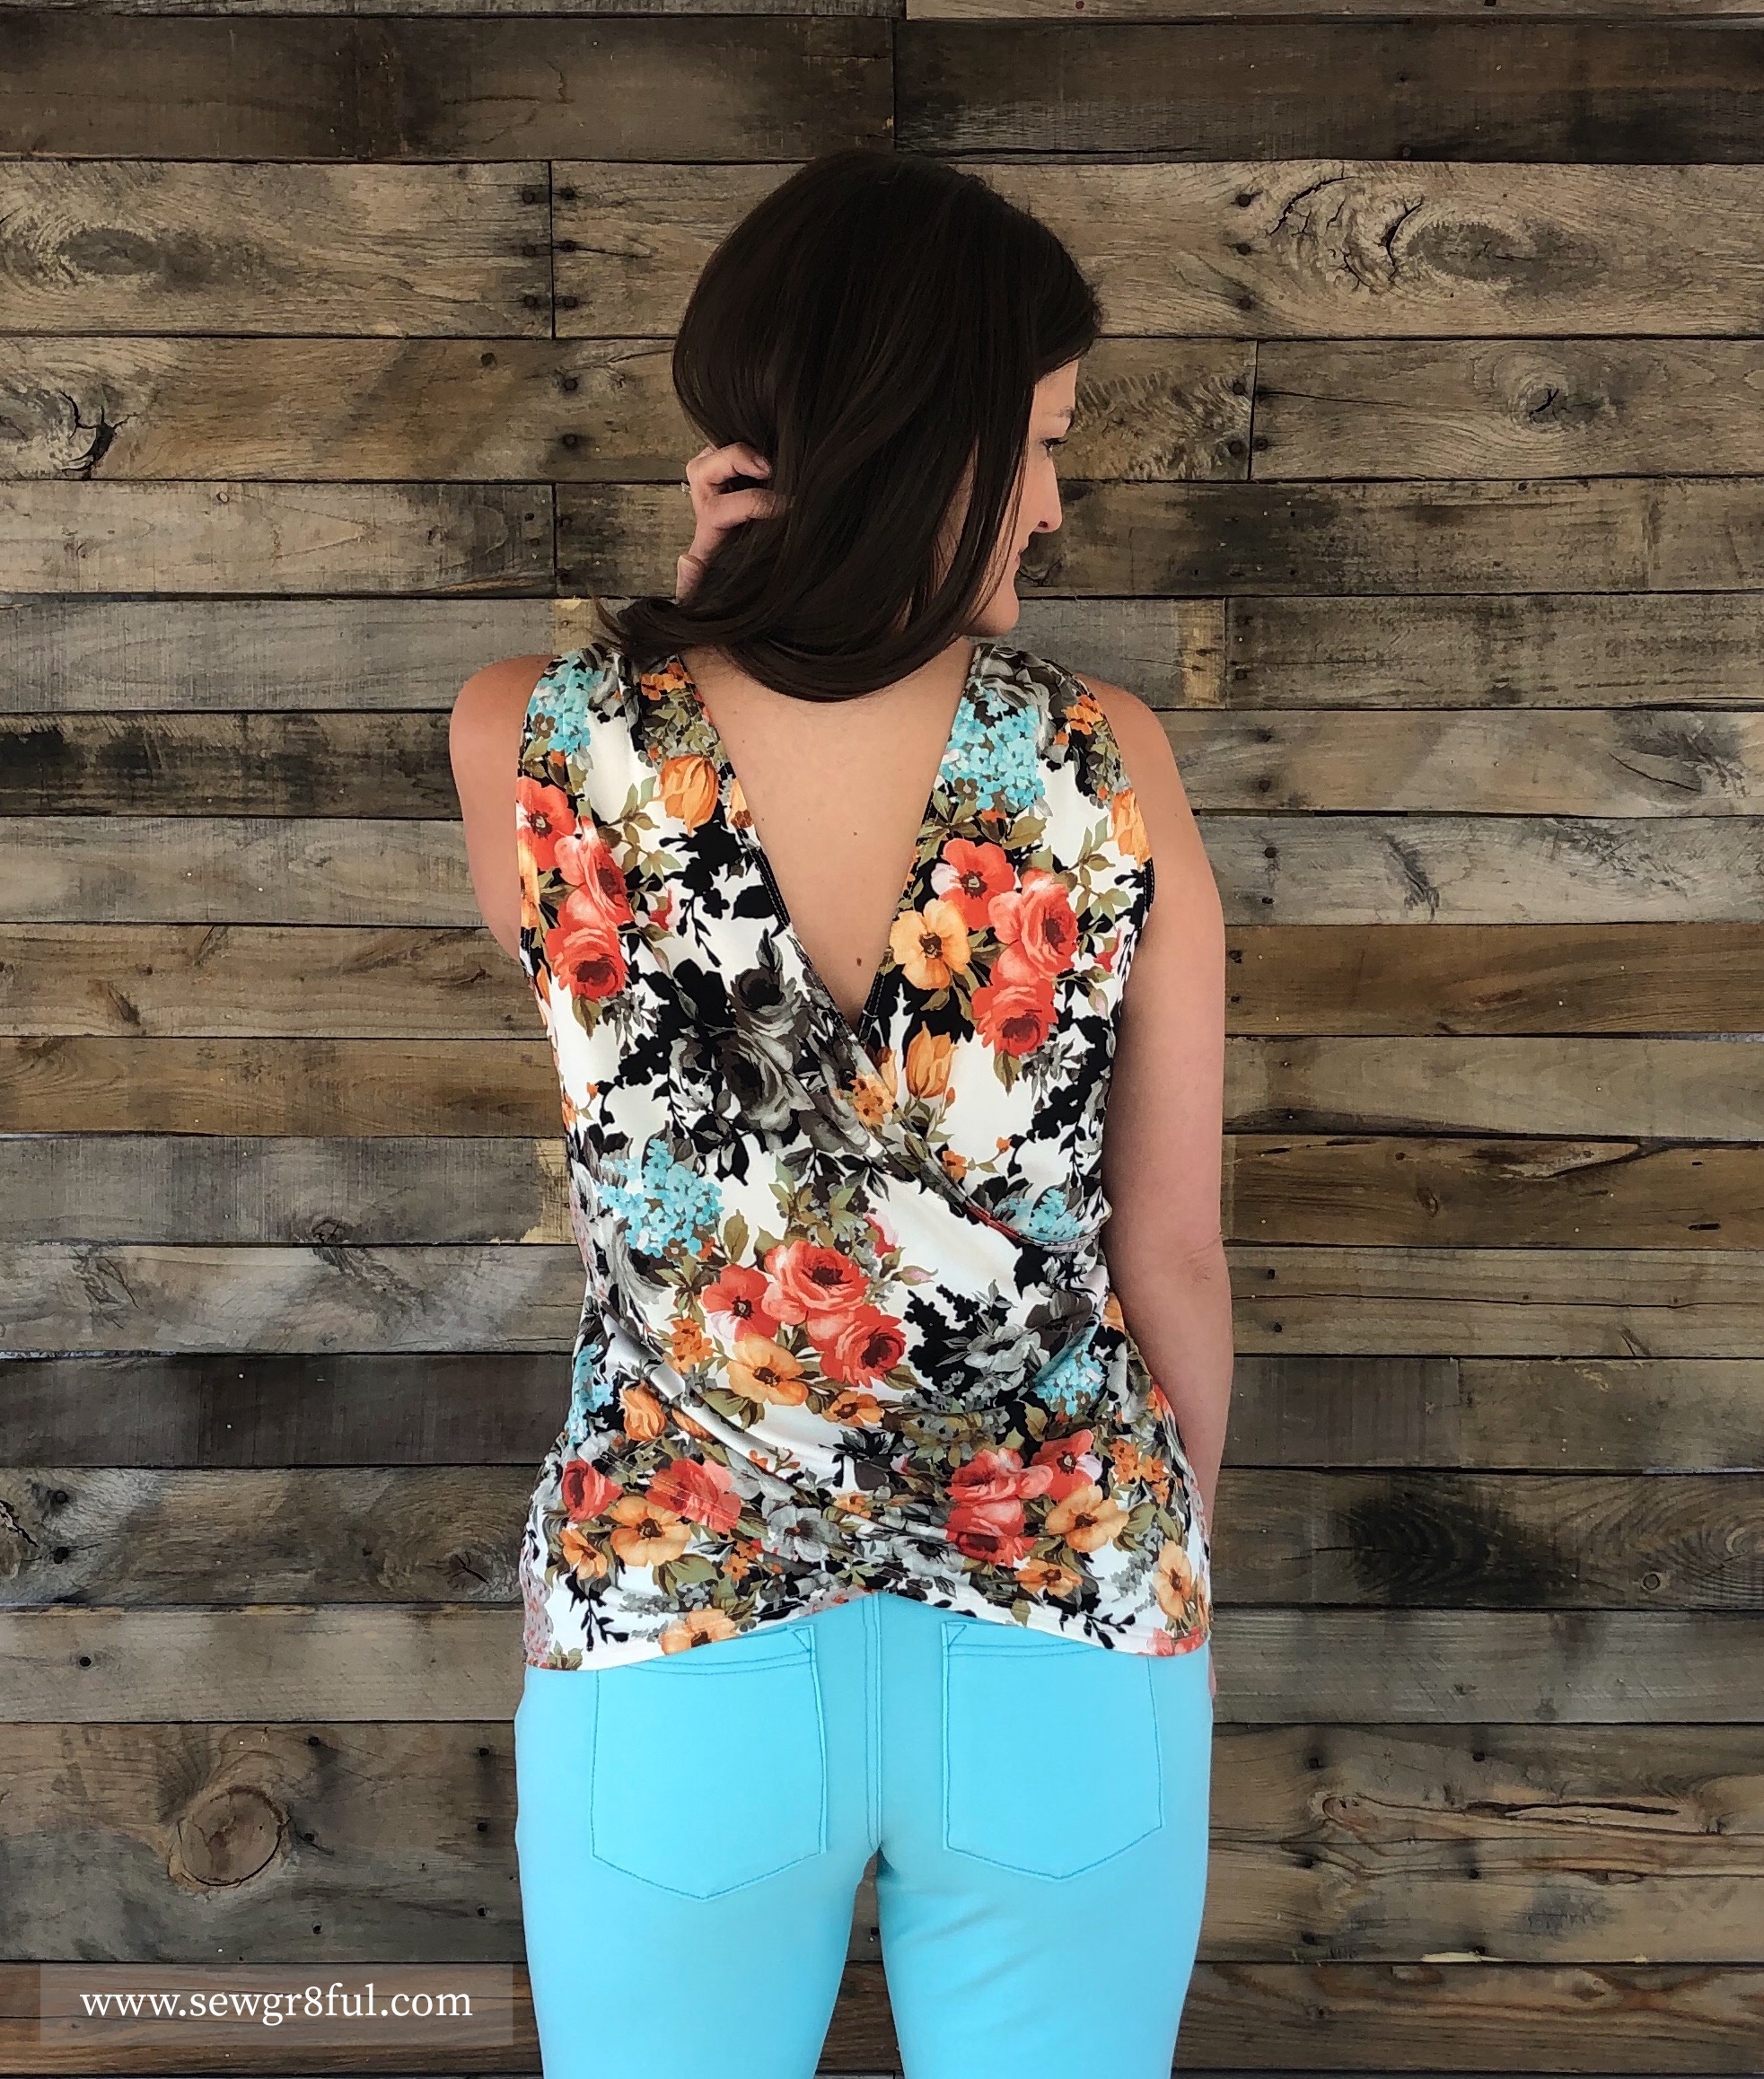
For the Alyssa ITY, to wear with the pants, I pulled out a pattern mash I did last year. I actually have done it twice already, but this time I decided to write up how. It felt like the perfect springy, complement to wear with mint pants. I mashed the crossback version of the New Horizons Designs, Valencia, with the sleeveless fit of their Marbella tank.

You could probably do something similar with another tank pattern you may have, but I went with this combo for a few reasons. First, I had both patterns already. The second reason was with them being from the same company, I figured they would have similar design fits, making the mash easier. The final reason I chose these two was because I had made the Marbella tank several times previously and loved the easy neckline and armscye finish, which I wanted to incorporate into this shirt.
Want to make your own Marbella/Valencia mash? Here are the steps I did to make mine.
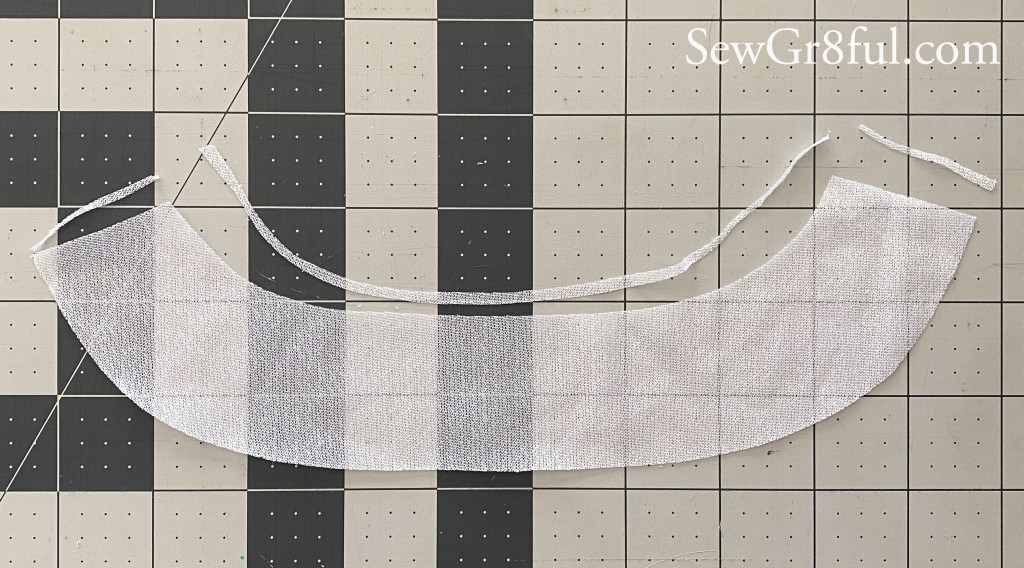
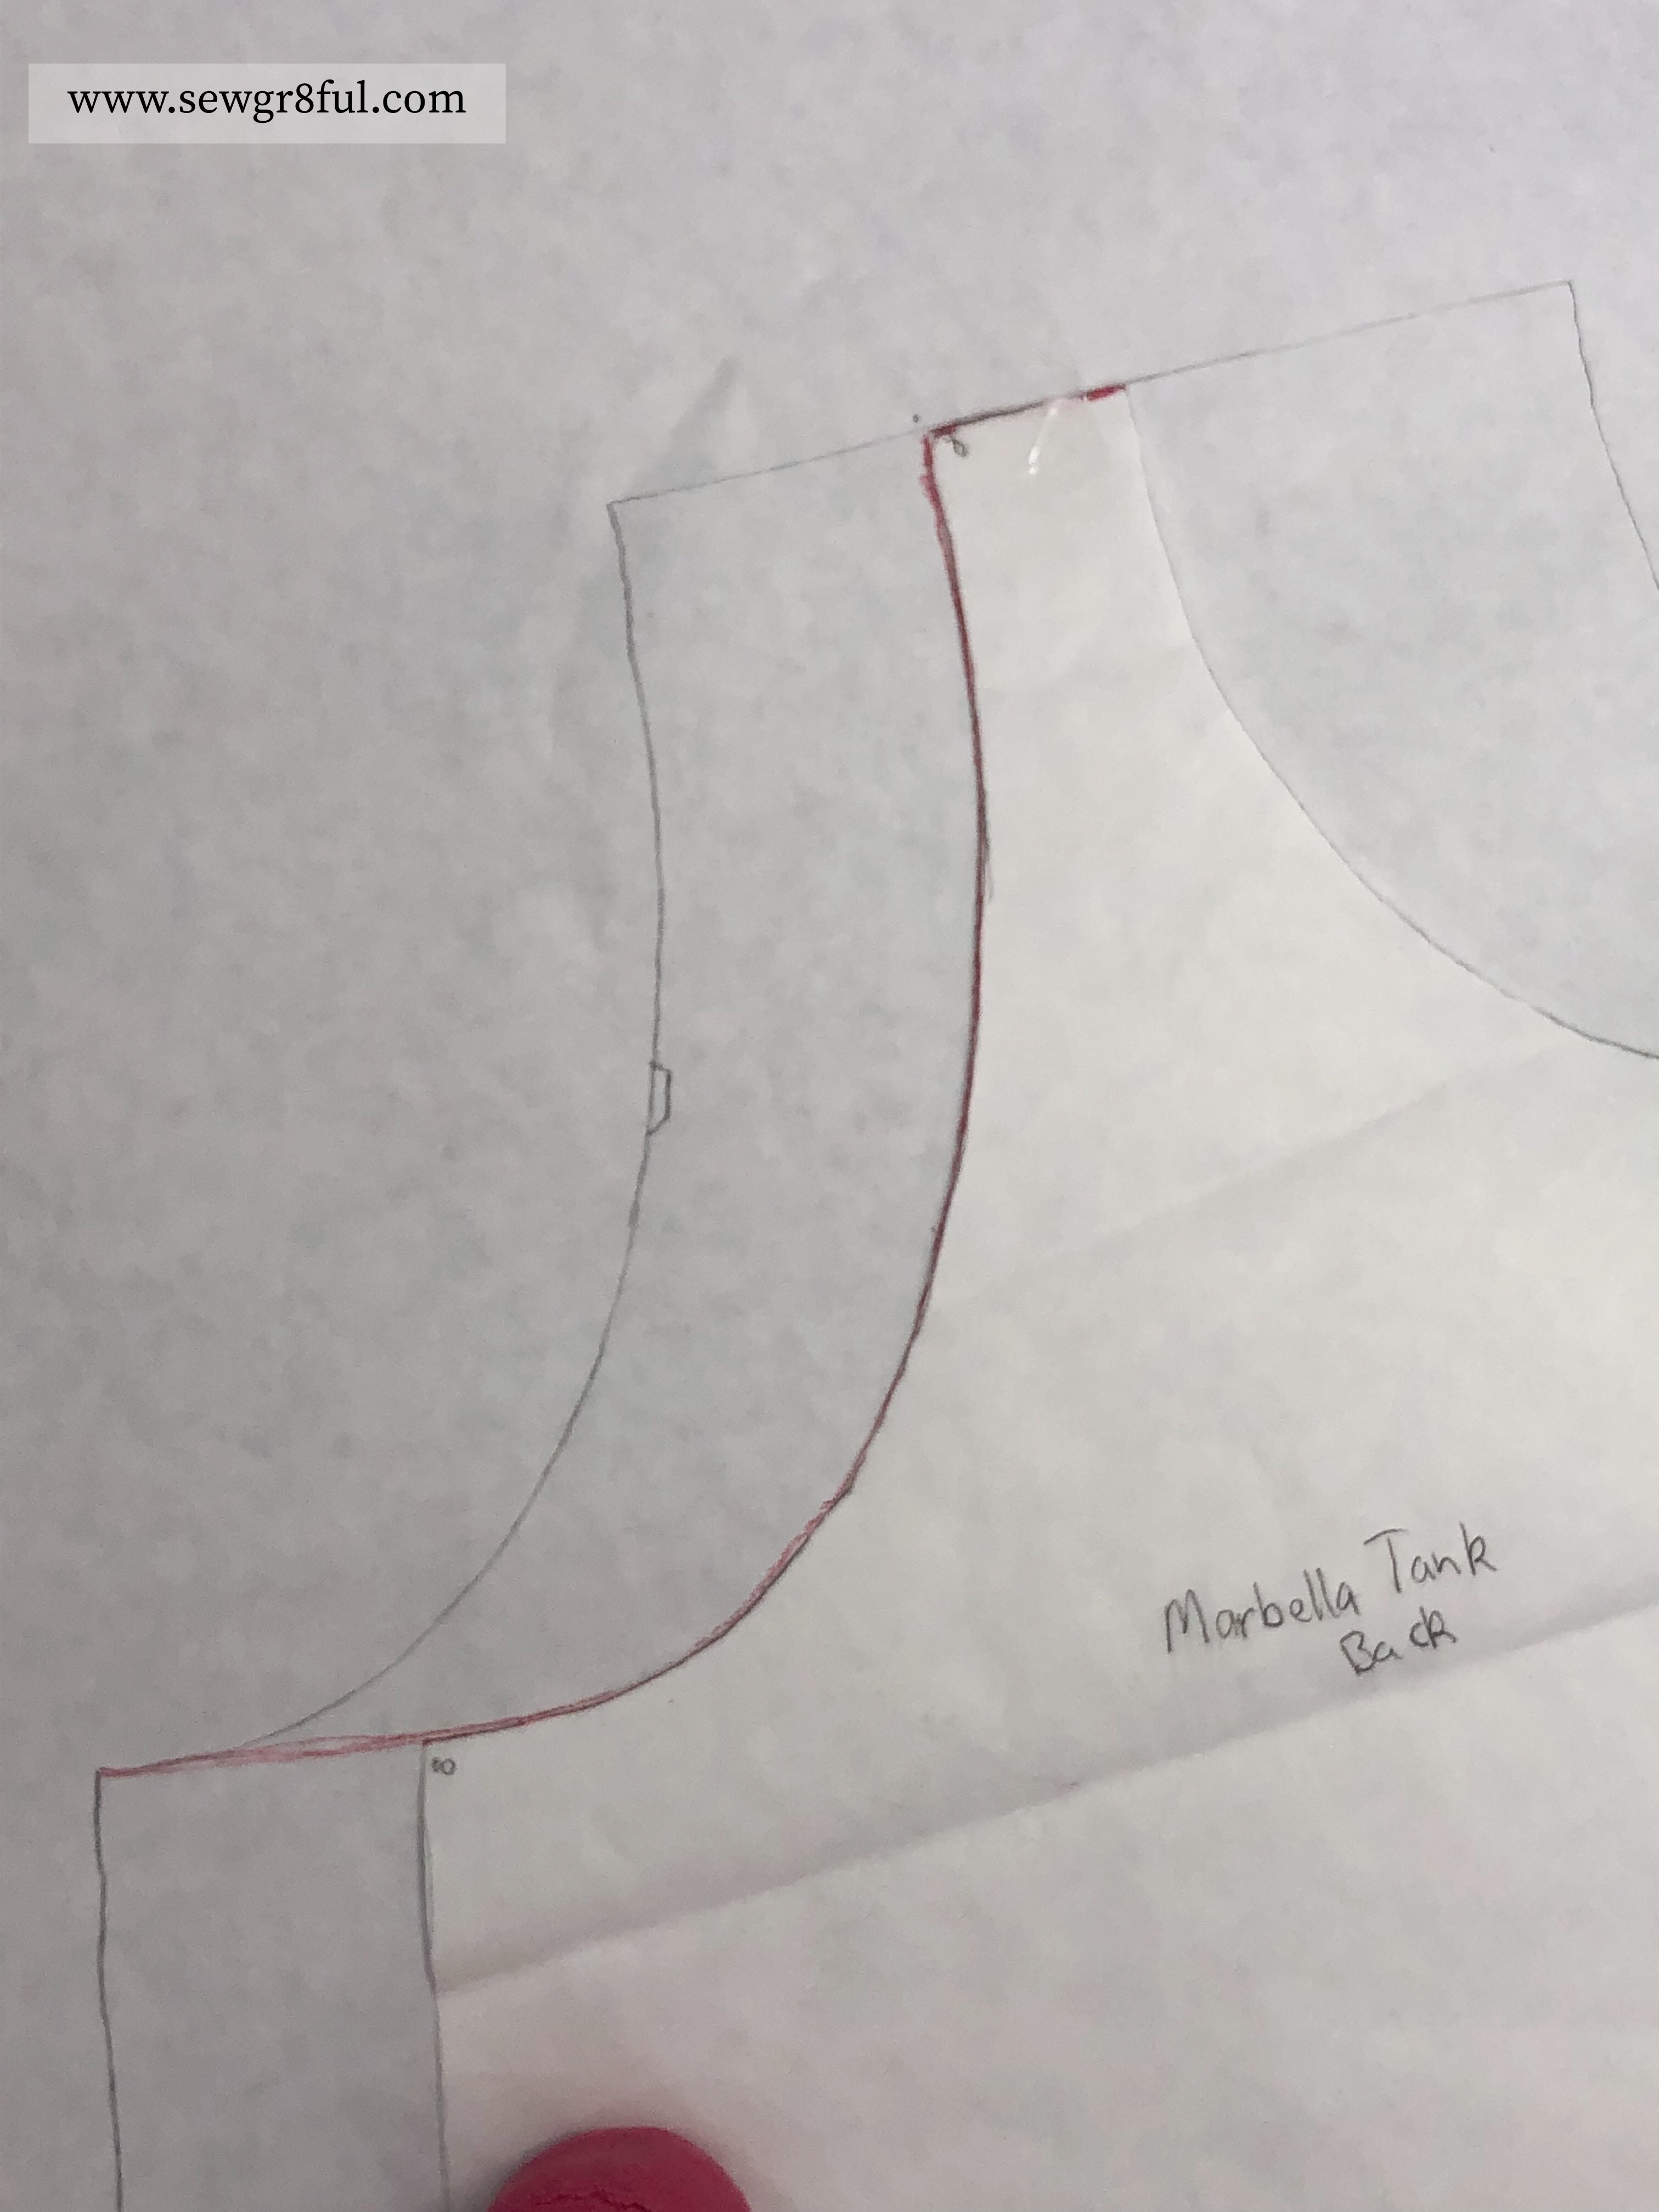
Let’s start with the back piece first. I laid out my Valencia crossback pattern and put my Marbella pattern on top, matching up the top shoulder seam.

I then transferred the Marbella armscye to the Valencia and blended it into the original curve of the Valencia.
At this point you have a few options, since the opening is bigger than the Marbella you can determine how much gap and drape you want. I made one with some drapy rayon spandex and took out ½” . It worked well for showing off my cute bralette under the arms and on the back. For this ity version, I wanted a little less drape and to wear with my regular bra, so I took out about ¾”. Whatever amount you choose, make sure you taper that in to the original side seam of the Valencia. If you aren’t sure on the amount you want, start with a smaller reduction, as you can always take out more later on, before finishing your arm topstitching.
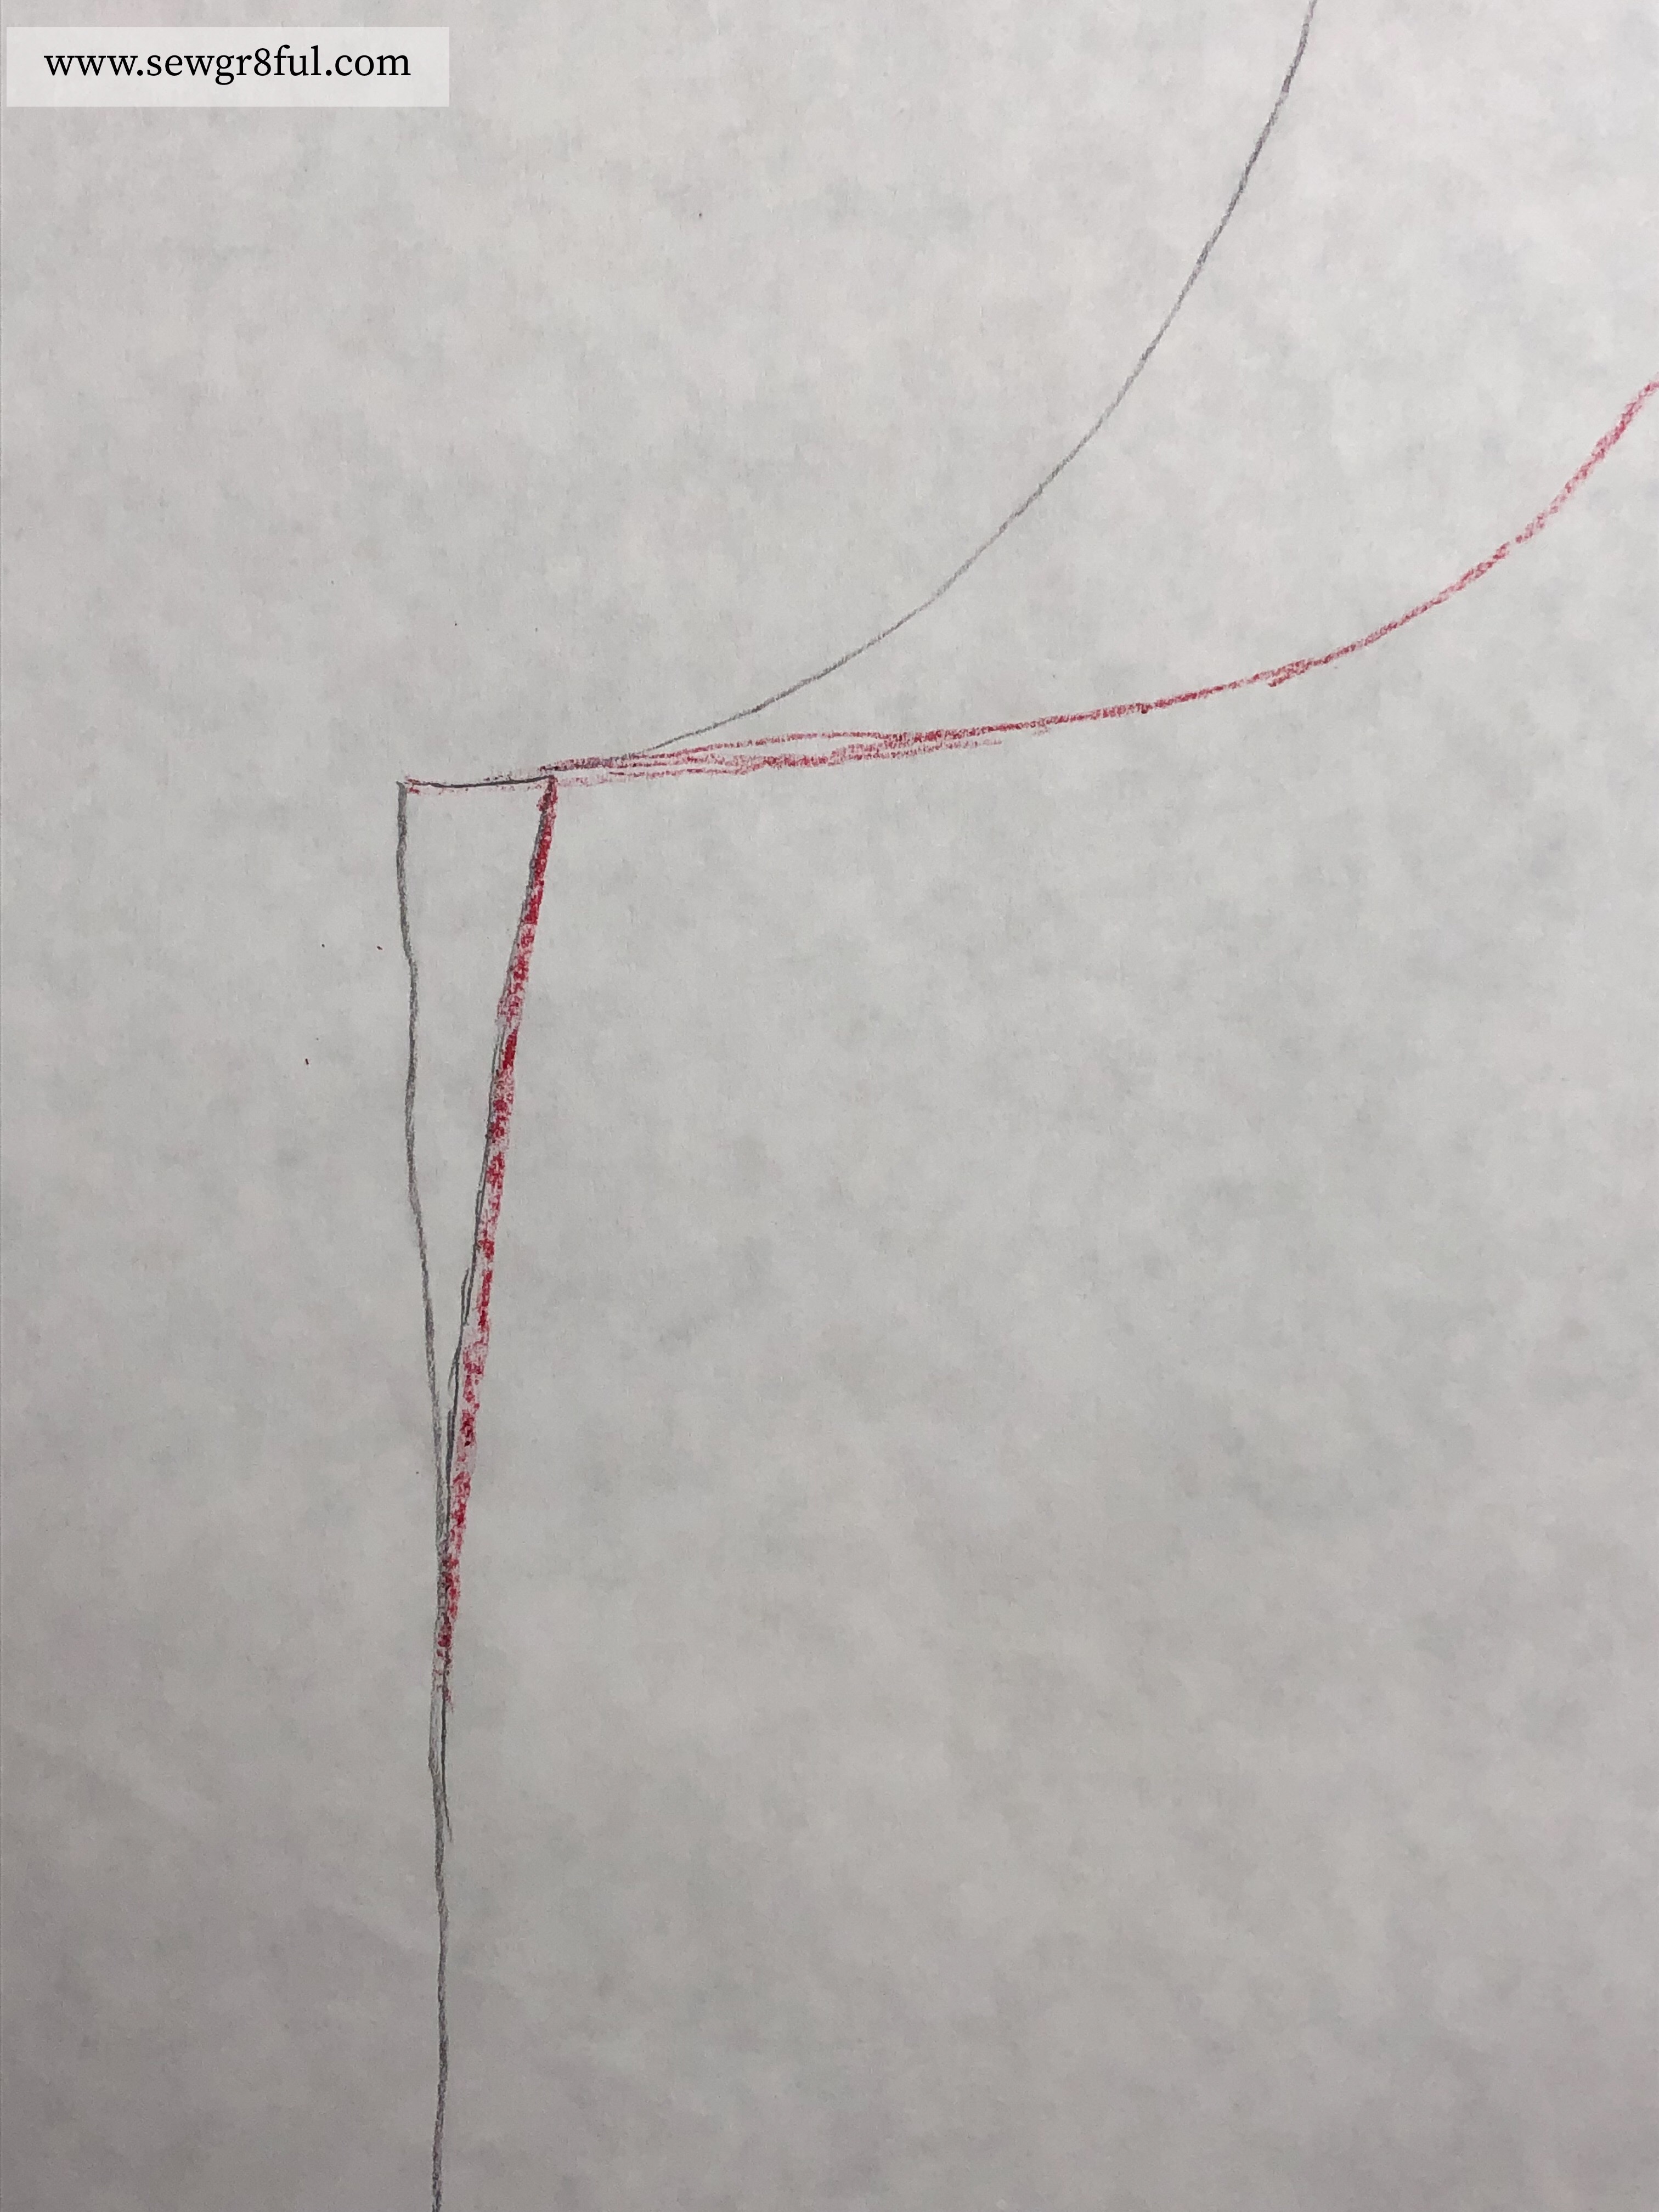
Now that our armscye is done, we can move to the crossover portion. I wanted extra gathering and drape on my crossover pieces so I extended the shoulder seam of the crossback Valencia, 2”.

I tapered that and blended it in to the original cut line about 12” down.

We will be gathering the shoulder piece in a future step, but if you don’t want to gather or have that extra drape on the back, you could skip this 2” addition and just make the back shoulder piece match the front shoulder piece. Total personal preference.
For the front pattern piece, again lay your Marbella pattern on top of the Valencia, lining up the shoulder seam and front fold line.

Transfer the Marbella armscye to the Valencia pattern, blending in to the original Valencia cutline.

Remove the same amount you did on the back piece, and taper it to blend in to the original Valencia side seam.

Cut one of your new front pieces on the fold and two of the new back pieces, mirrored.

If you want to have a back strap like the original Valencia, you would cut that as well. I like it to have more movement so I opt to skip the strap. If you have your shoulder straps normally slipping off your shoulders, you may want to add the strap, to keep things in place. Now that we have all our pieces cut, we can assemble.
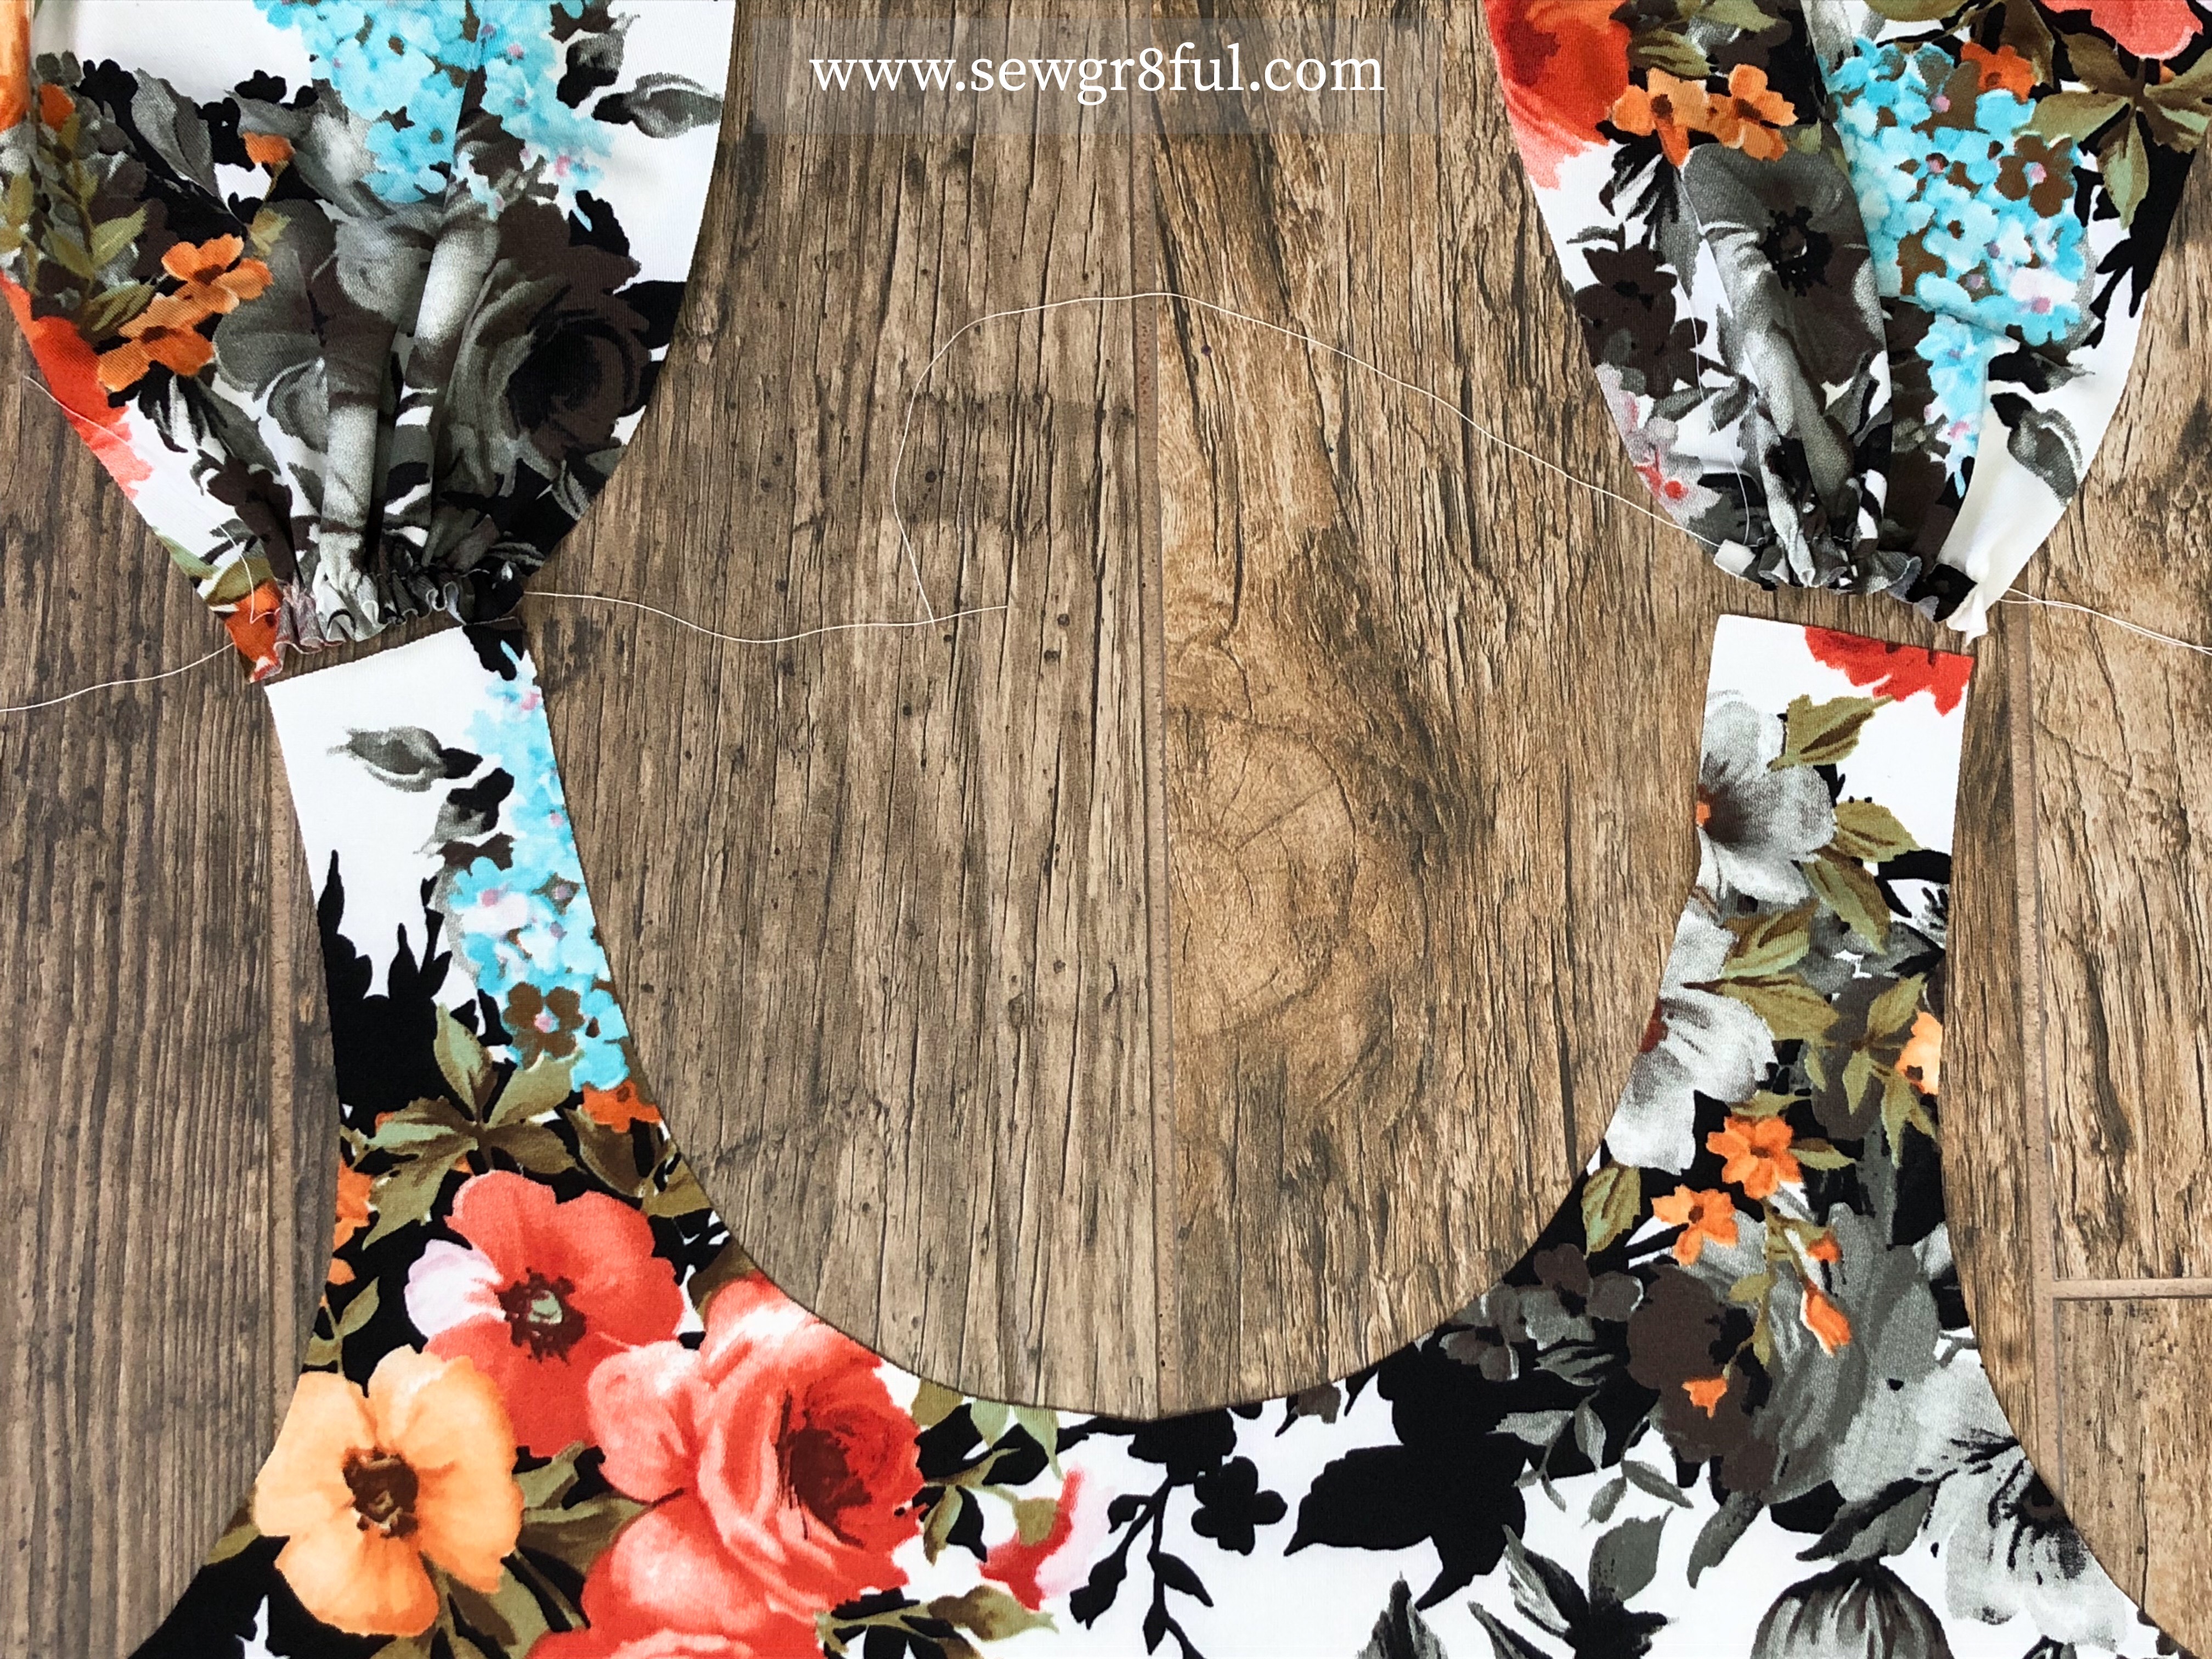
If you added the 2” to the back shoulder, you will now sew a gathering stitch along the shoulder seam, and then gather it to match the front shoulder seam width.

Repeat with the other back shoulder seam. I would recommend gathering with your sewing machine vs your serger, just to minimize the bulk for future steps.
Lay your front piece, right sides together, with the two back pieces and sew the shoulders.

You will have all three pieces connected at the two shoulder seams.
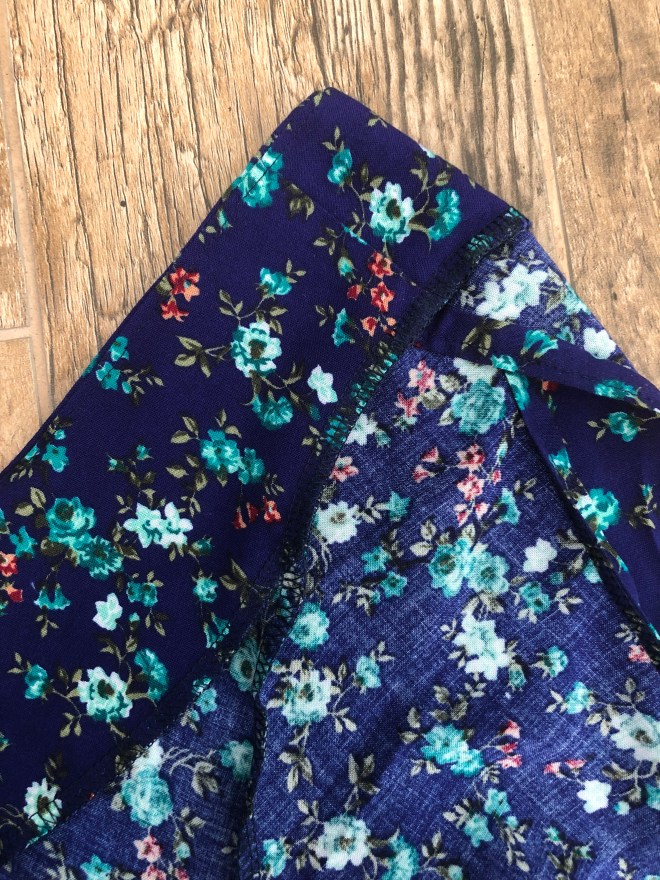
Starting with one back piece, fold over the crossover edge 3/8”, and work your way around the neckline, ending at the other back crossover edge. Topstitch.
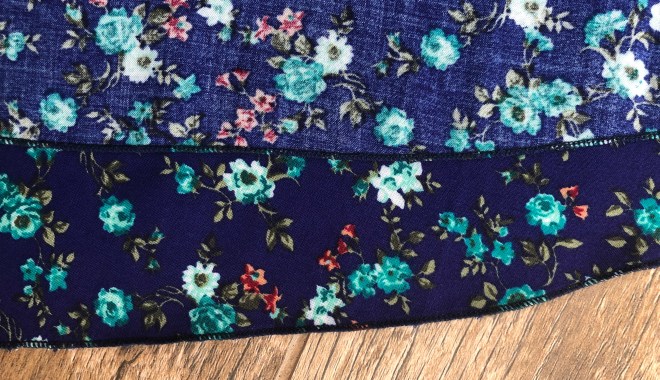
Fold up the bottom hem on the front and both back pieces, ¾”, and topstitch.
Lay your front piece right side up. Cross over the right back piece, aligning the left bottom edge with the left bottom edge of the front piece and the right upper edge with the armpit of the front piece. Right sides together, and clip in place.

Cross over the left back piece, on top of the right one, align the edges and clip in place.

Sew the sides together, starting at the underarm and ending at the hem. At some points you will have three layers so be sure to catch them all.

Press and fold the seam allowance towards the back of the bodice and stay stitch.

I like to fold up and tuck my serger tails in, before I fold the seam allowance and stitch. Like this.
If you decided to add a back strap, now is when you would do so.
If you opted for no back strap, you will fold over the armscye 3/8” and topstitch. Repeat with the other side.

You are done! As slow of a seamstress as I am, I actually find this mash to be relatively quick.
Since this is a cross back with two back pieces, it uses a little more fabric than a single tank with only the front and back piece. I started with a little over 2 yards and ended up with a full ½ yard plus another ½ yard that was about half the width of fabric. I probably could have done better at cutting it out but I was cutting distracted and didn’t pay attention, oops.

To see the other included options and get your New Horizons Designs patterns, you can here- Marbella and Valencia. You can get the Patterns for Pirates SOS pants here. Both fabrics were purchased from So Sew English Fabrics. They just stocked a bunch of solid Ponte and some gorgeous ITY’s so be sure to check them out.
This post may contain affiliate links. This means if you make a purchase through that link, I may get a % back, at no additional cost to you. Let’s be honest, we all know it goes right back to adding to my fabric stash. All opinions on this blog are my own.