A few not so basic, basics

My daughter has moved into several adult sized patterns, but because she has a shorter side waist length than they are drafted for, and she is only 5 ft, most are still a little too long on her.

One of her recent requests was for some regular shirts, like my most worn shirt, my solid black v neck Hey June Union St Tee. So I looked at the pattern and she just fit into the smallest size.

Because of her height difference, I knew I needed to raise the v neck and remove length, both in the amount of 2″.

To remove the 2″ in the v, I just moved the point up 2″ and then blended the new point, into the original neckline. I recalculated the neckband at 90% and then removed 2″ in the length of the bodice.

Once I made the solid black v neck, we decided to also make three scoop necks.

To do something a little different I did a slight sleeve mod and made two of them flutter.

I love being able to use one pattern but with different options and a little hack, she has four different shirts.

Fabric: all fabrics are Double Brushed Poly from So Sew English Fabric
Pattern: Hey June Handmade Union St. Tee

This post may contain affiliate links. This means if you make a purchase through that link, I may get a % back, at no additional cost to you. Thank you for supporting my sewing 💕

Mix and Match – For my Mom

A long time ago, (Pre covid), my Mom showed me two skirts she had and loved, and asked if I could recreate them for her. My parents were going on a cruise and the skirts would pack light, small, and resist wrinkles. We discussed fabric options, she looked at my stash, and we placed a fabric order for three separate skirts. One skirt would be a single skirt and the other two would be reversible.

The solo skirt would be made from ITY and the two reversible were from rayon crepe (crinkle woven).

The fabric arrived and I got to work on the skirts. I finished the solo one and got the first reversible one done, up to the hemming fit check. Then covid hit, their cruise got cancelled, and the skirt was put on the back burner.

Fast forward to a few months ago. They were prepping for their rescheduled cruise so it was time to get the skirts done. Plus a few new shirts to wear with them. We had a lot of fun ( Well I did 🤣 hopefully she did too) shopping my stash and coordinating fabrics to maximize her outfit possibilities.

Here are the finished outfits, modeled by my mannequin.

Skirt number one – ITY, elastic waist band, rolled hem. Lightweight, wrinkle resistant, and these colors are so pretty!!!

We used the Hey June Handmade Union St Tee, V-neck and short sleeve options, for both this mauve DBP (Double Brushed Poly) and this light blue DBP shirt.

The other two shirts are both scoop neck with a flutter sleeve. This one is in a tan DBP.

This one is Dark Berry ITY from Surge. My Mom fell in love with the color and how it went with so many of her skirts and other outfits she had, but the only issue was I couldn’t part with it. The dangers of letting people shop your stash 🤣. Fortunately I was able to check with Surge, and they had a few yards remaining. Crisis averted, I got to keep my fabric and she was able to have a shirt in the gorgeous fabric.

We picked these shirt colors since they also work with the reversible skirt. All four look great with this side.

I just love all the colors this fabric has. It really allows for multiple ways to style it.

And three of the tops work well with this side of the reversible skirt.

I love that these tops and skirts will also work well with her current wardrobe, so she can mix and match even more. Once she gets back from her cruise I will be finishing up her second reversible skirt.

Fabrics –
DBP was from So Sew English Fabrics
ITY Shirt was from Surge Fabrics
ITY and Rayon Crepe skirts were from So Sew English Fabrics

Pattern – The V neck shirts are the Hey June Handmade Union St Tee

This post may contain affiliate links. This means if you make a purchase through that link, I may get a % back, at no additional cost to you. Thank you for supporting my sewing 💕

Pinspiration – You win some and you lose some

Where do you find your sewing inspiration?

I have my own ideas (usually when I’m trying to sleep), get inspired by other seamstress makes, and “shop” on Pinterest.  I really love “shopping” on Pinterest because I can save the things I like and can come back to it when I need something to sew or I find the perfect fabric. Another thing I love using pinterest for is finding examples of those late night ideas I get. I can search for things that are similar and make my notes to save them for later. Usually, when I find something I want to make, I have to search for a pattern or figure out how to hack one I already have, like I did for my first pinspiration (blogged here). In the case of these two recent pinspirations, I had both patterns already and no hacking needed, yay for saving time and money !! It also helped that I have made both patterns several times before so I knew they would be a good fit.

img_9986
Pinterest pin #1

I’ve had really great luck with my pinspiration creations and usually love the way they turn out. Unfortunately, that wasn’t the case with this purple cardigan. Let me start by saying, I love the pattern I used (Coffee and Tea from Annelaine ). It has several different options which allow for you to make a bunch of different cardigans from the same pattern. Another yay for saving money!! I have used it several times, several = 5, and each time it comes out beautifully. This time, my 6th, was no different.

I liked the fabric too. It was a Purple Hair I snagged in a bundle from So Sew English Fabrics. It washed well, sewed up well, even with the extra “hair”, and it had a unique look to it.

The problem came when I tried it on. I really did not like the way this specific combo looked on me. I tried it with several different looks and just couldn’t say I loved it. I was so bummed too. I had really wanted this to turn out. I mean, a purple fluffy sweater, who doesn’t need a purple fluffy sweater??

40ccec71-1ebd-42c2-91e4-441951883964

To get this look I used the Coffee version, length between the long and short cut lines, hemmed loose sleeves, and the slim bands. Plus pockets, because, POCKETS.

img_9987
Pinterest Pin #2

My other recent pinspiration was a solid landing in the win column. I love this pattern too (Union St. Tee from Hey June Handmade)!! I have made several, several  = 4 in this case. I like all the options the Union St Tee has, but I really found the v-neck instructions easy to follow. All three of the  v-necks I have done, have turned out great.

Then there was the fabric. It is a brushed hacci from So Sew English, and is so so SO dang soft. Soft and cuddly, and soft. It is soft ya’ll ! I tried it on and it was instant love! The hardest part was trying to photograph it to make it look like the pinspiration picture.

img_1331

I gave up, I’m not a good selfie taker, and I’m okay with that. Making my bed and cleaning the mirror is totally not worth it. I’m kidding, but seriously, selfies are hard. I applaud all of you with selfie skills!

img_0091

The options I used for this top were long sleeves and v-neck.

Pinspiration. You win some and you lose some.

Anyone looking for a fluffy purple cardigan?? I happen to have one just hanging around.

This post may contain affiliate links. This means if you make a purchase through that link, I may get a % back, at no additional cost to you. Let’s be honest, we all know it goes right back to adding to my fabric stash. All opinions on this blog are my own and I have a lot, ha ha ha.

Lining the hood of my Lane Raglan

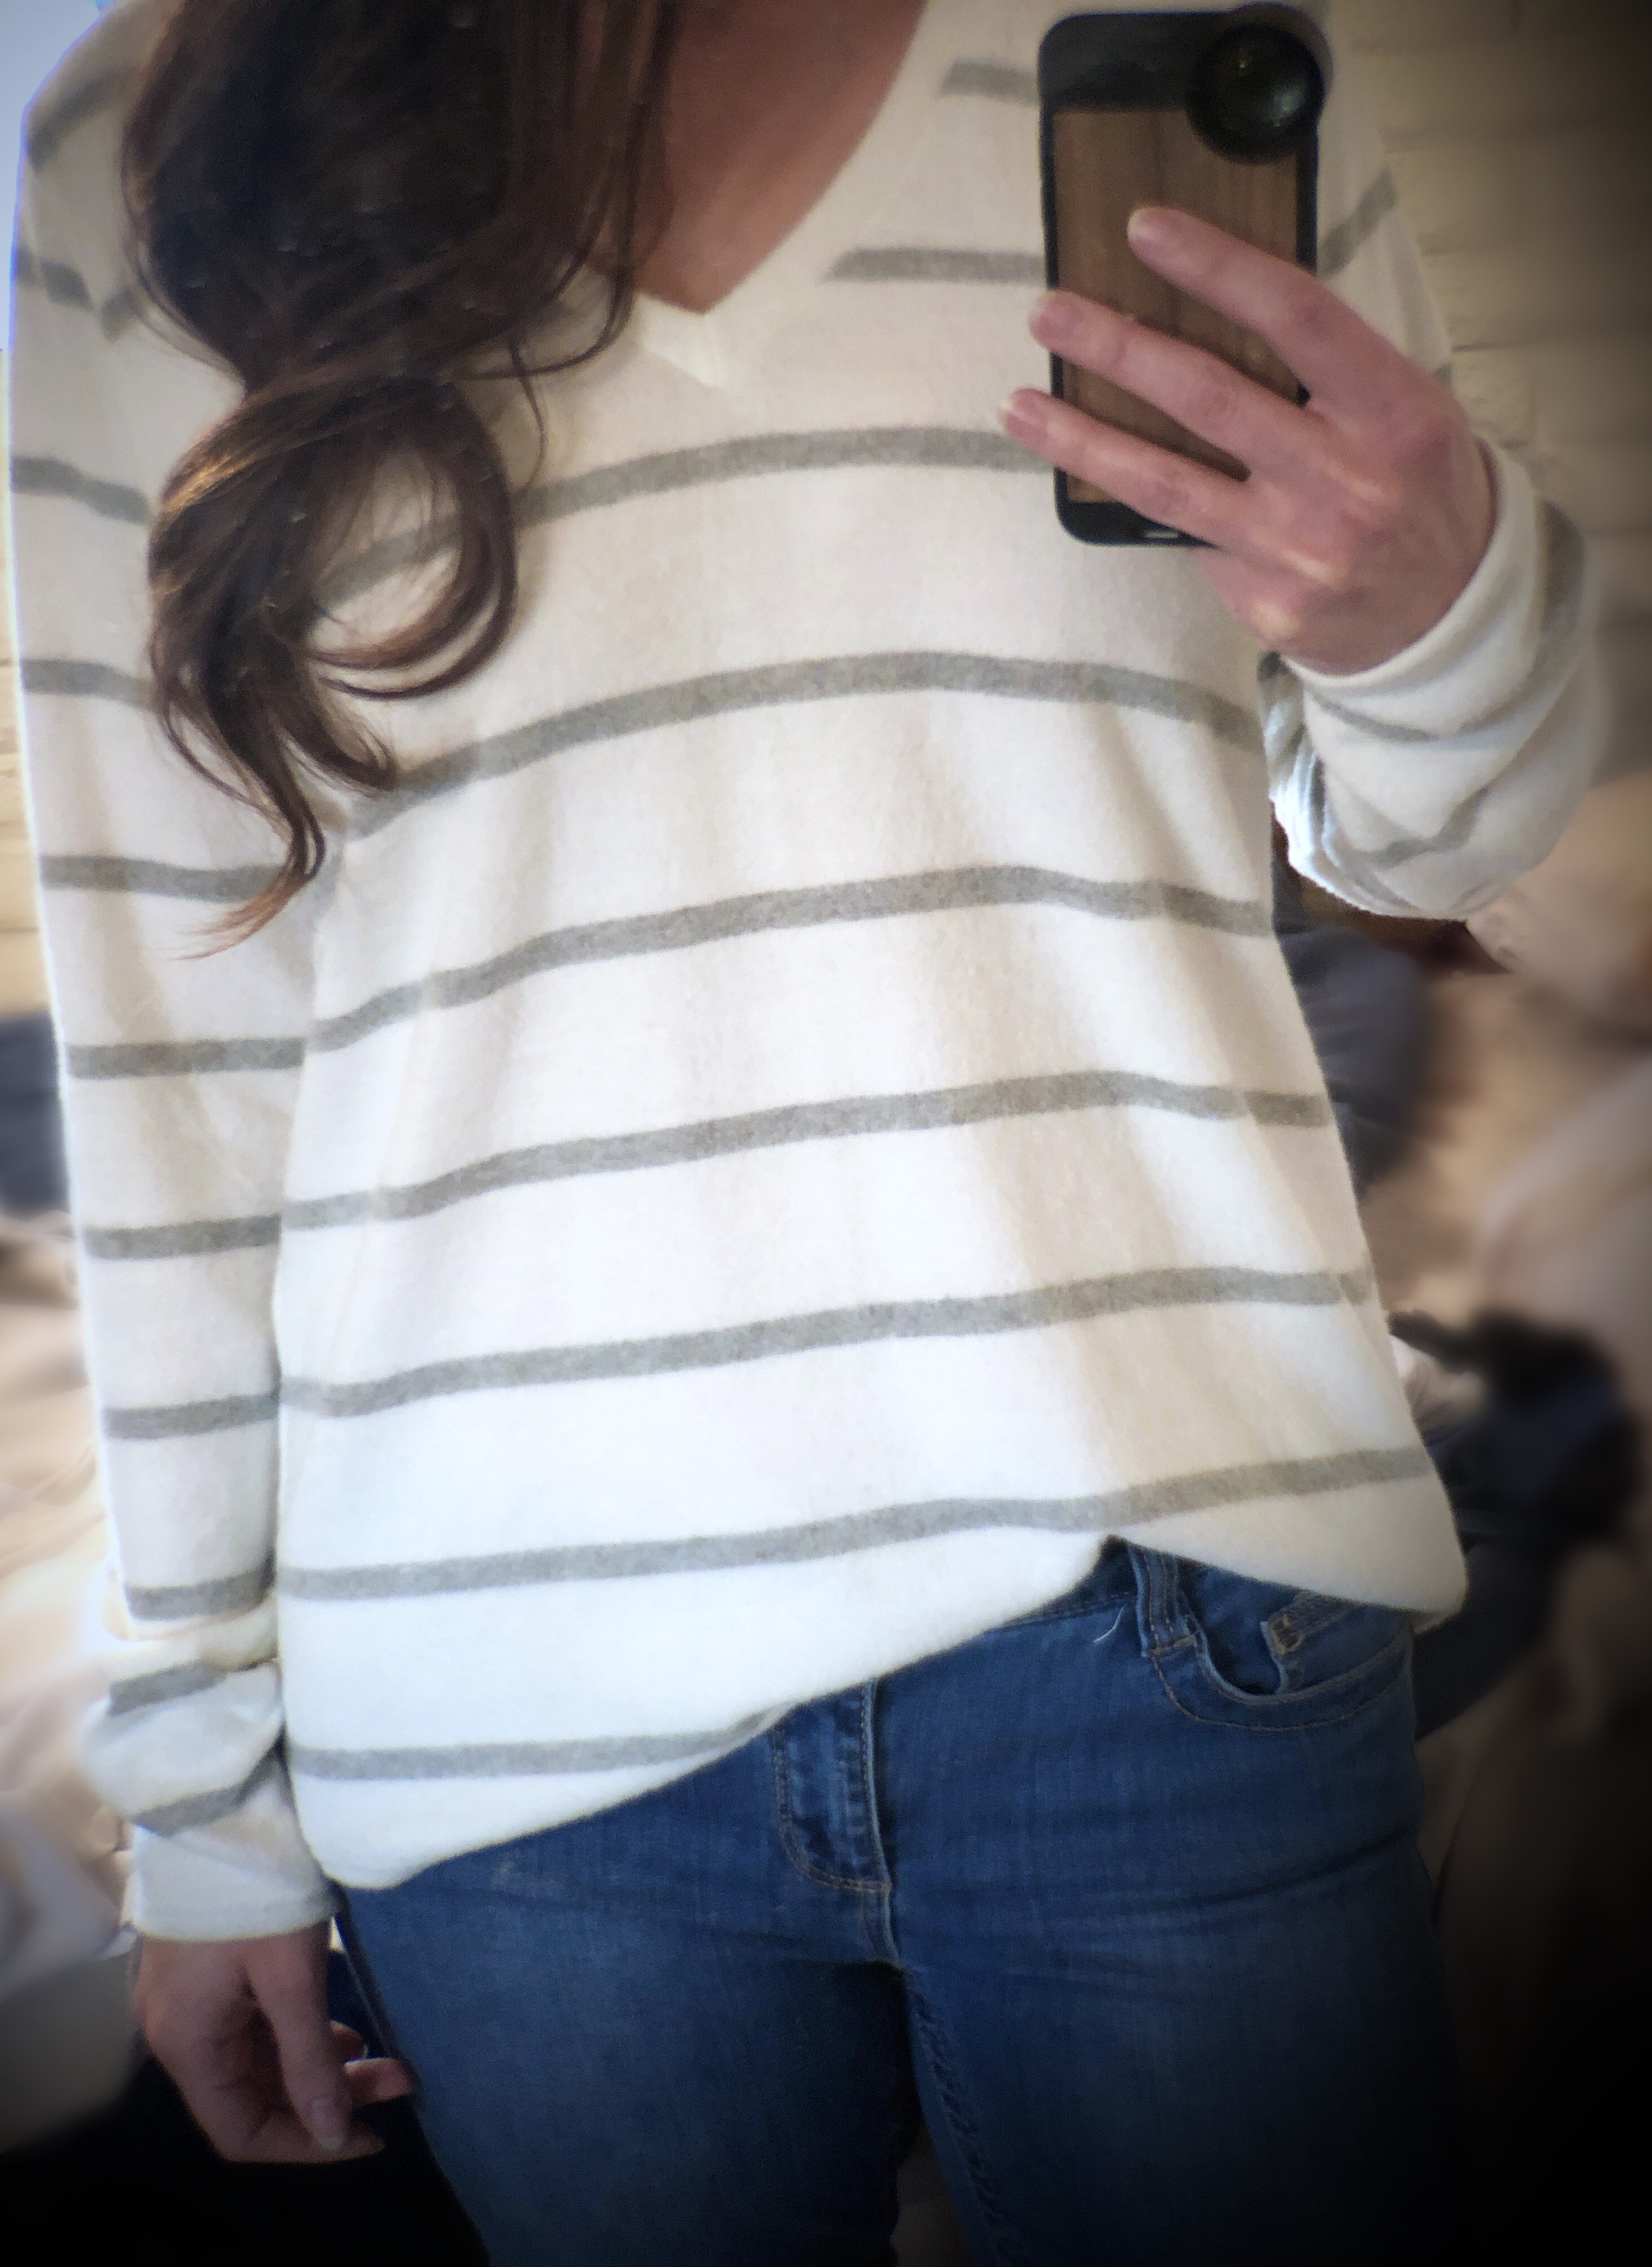
Hoodies.  Ahh yes,  I love hoodies. There are so many different changes and hacks you can do to hoodies and it completely changes the look. One of my favorite changes is adding a lining to the hood.  Unlined hoods are great when you need to use less fabric but unlined also means you can see my stitches *gasp*.  Unlined means the wrong side of the fabric is showing and is against my head and neck. I don’t know about you, but I usually prefer the feel of the outside of most fabrics. I particularly like to line my hoods with an accent fabric, which was the case with this recent Lane raglan hoodie I made with french terry from my So Sew English Fabrics stash.

img_8457

I have lined hoods before but always with detailed instructions included in the patterns. The Lane raglan hood doesn’t include a lined option, yet looking around the Hey June Handmade facebook group I saw a bunch of lined versions. I read through post, after post, after post, looking for instructions on how they modified the pattern to accommodate a lined hood. I took all that information, added my past lined hood experiences, and I felt comfortable giving it a try. It turned out so cute with that accent lining and ridiculously comfortable to boot.

img_0713

This is how I lined my Lane raglan hood.

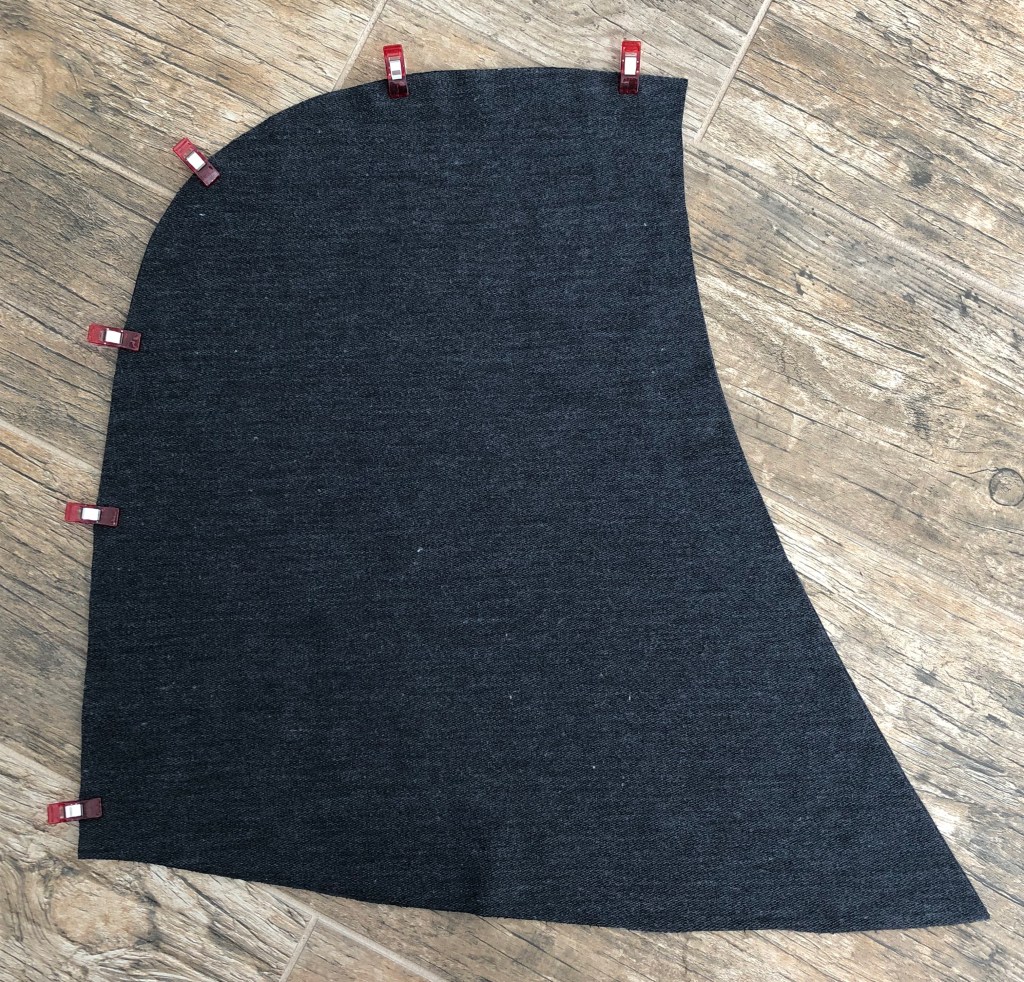
 I didn’t need the full 1” hem that the unlined hood has around the front curve. I left in my ¼” seam allowance, for sewing the lining to the main outer fabric, and removed the remaining  ¾”. To remove I took my hood pattern piece and measured ¾” from the front edge. I marked it and continued the same all the way down the pattern piece. (dashed lines below)

img_0703

Then I connected the dashed lines to make a smooth line for cutting. (red line below)

img_0704

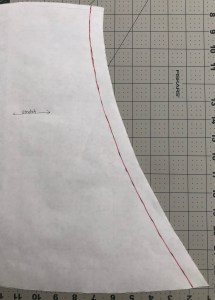
Cut off that extra strip and you have your new hood pattern piece.

img_0705

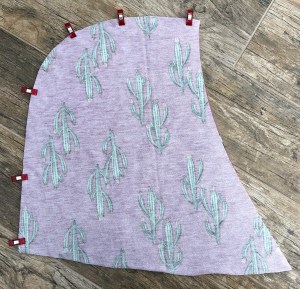
Using your new hood pattern piece, cut two mirrored in your lining fabric (charcoal) and cut two mirrored hood pieces in your main outer fabric (print)

*TIME SAVING TIP* Fold your fabric right sides together (RST), lay your hood pattern on top, and cut both layers at once. Placing your fabric RST here will allow it to be lined up and ready for the next step.

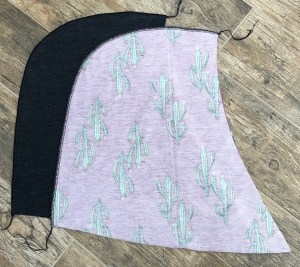
Place your two main outer hood pieces RST. If you used the time saving tip, this is already done. Clip and sew along the outer curve of the two. Repeat with the two lining pieces.

img_0539img_0537

Now you have two hoods, one in the outer fabric and one in the lining fabric.

img_0540

Take the outer hood and place it inside the lining hood, RST. Line up the center seams we just made. Clip and sew along the top front edge. This will make your two hoods into one.

img_0542

img_0543

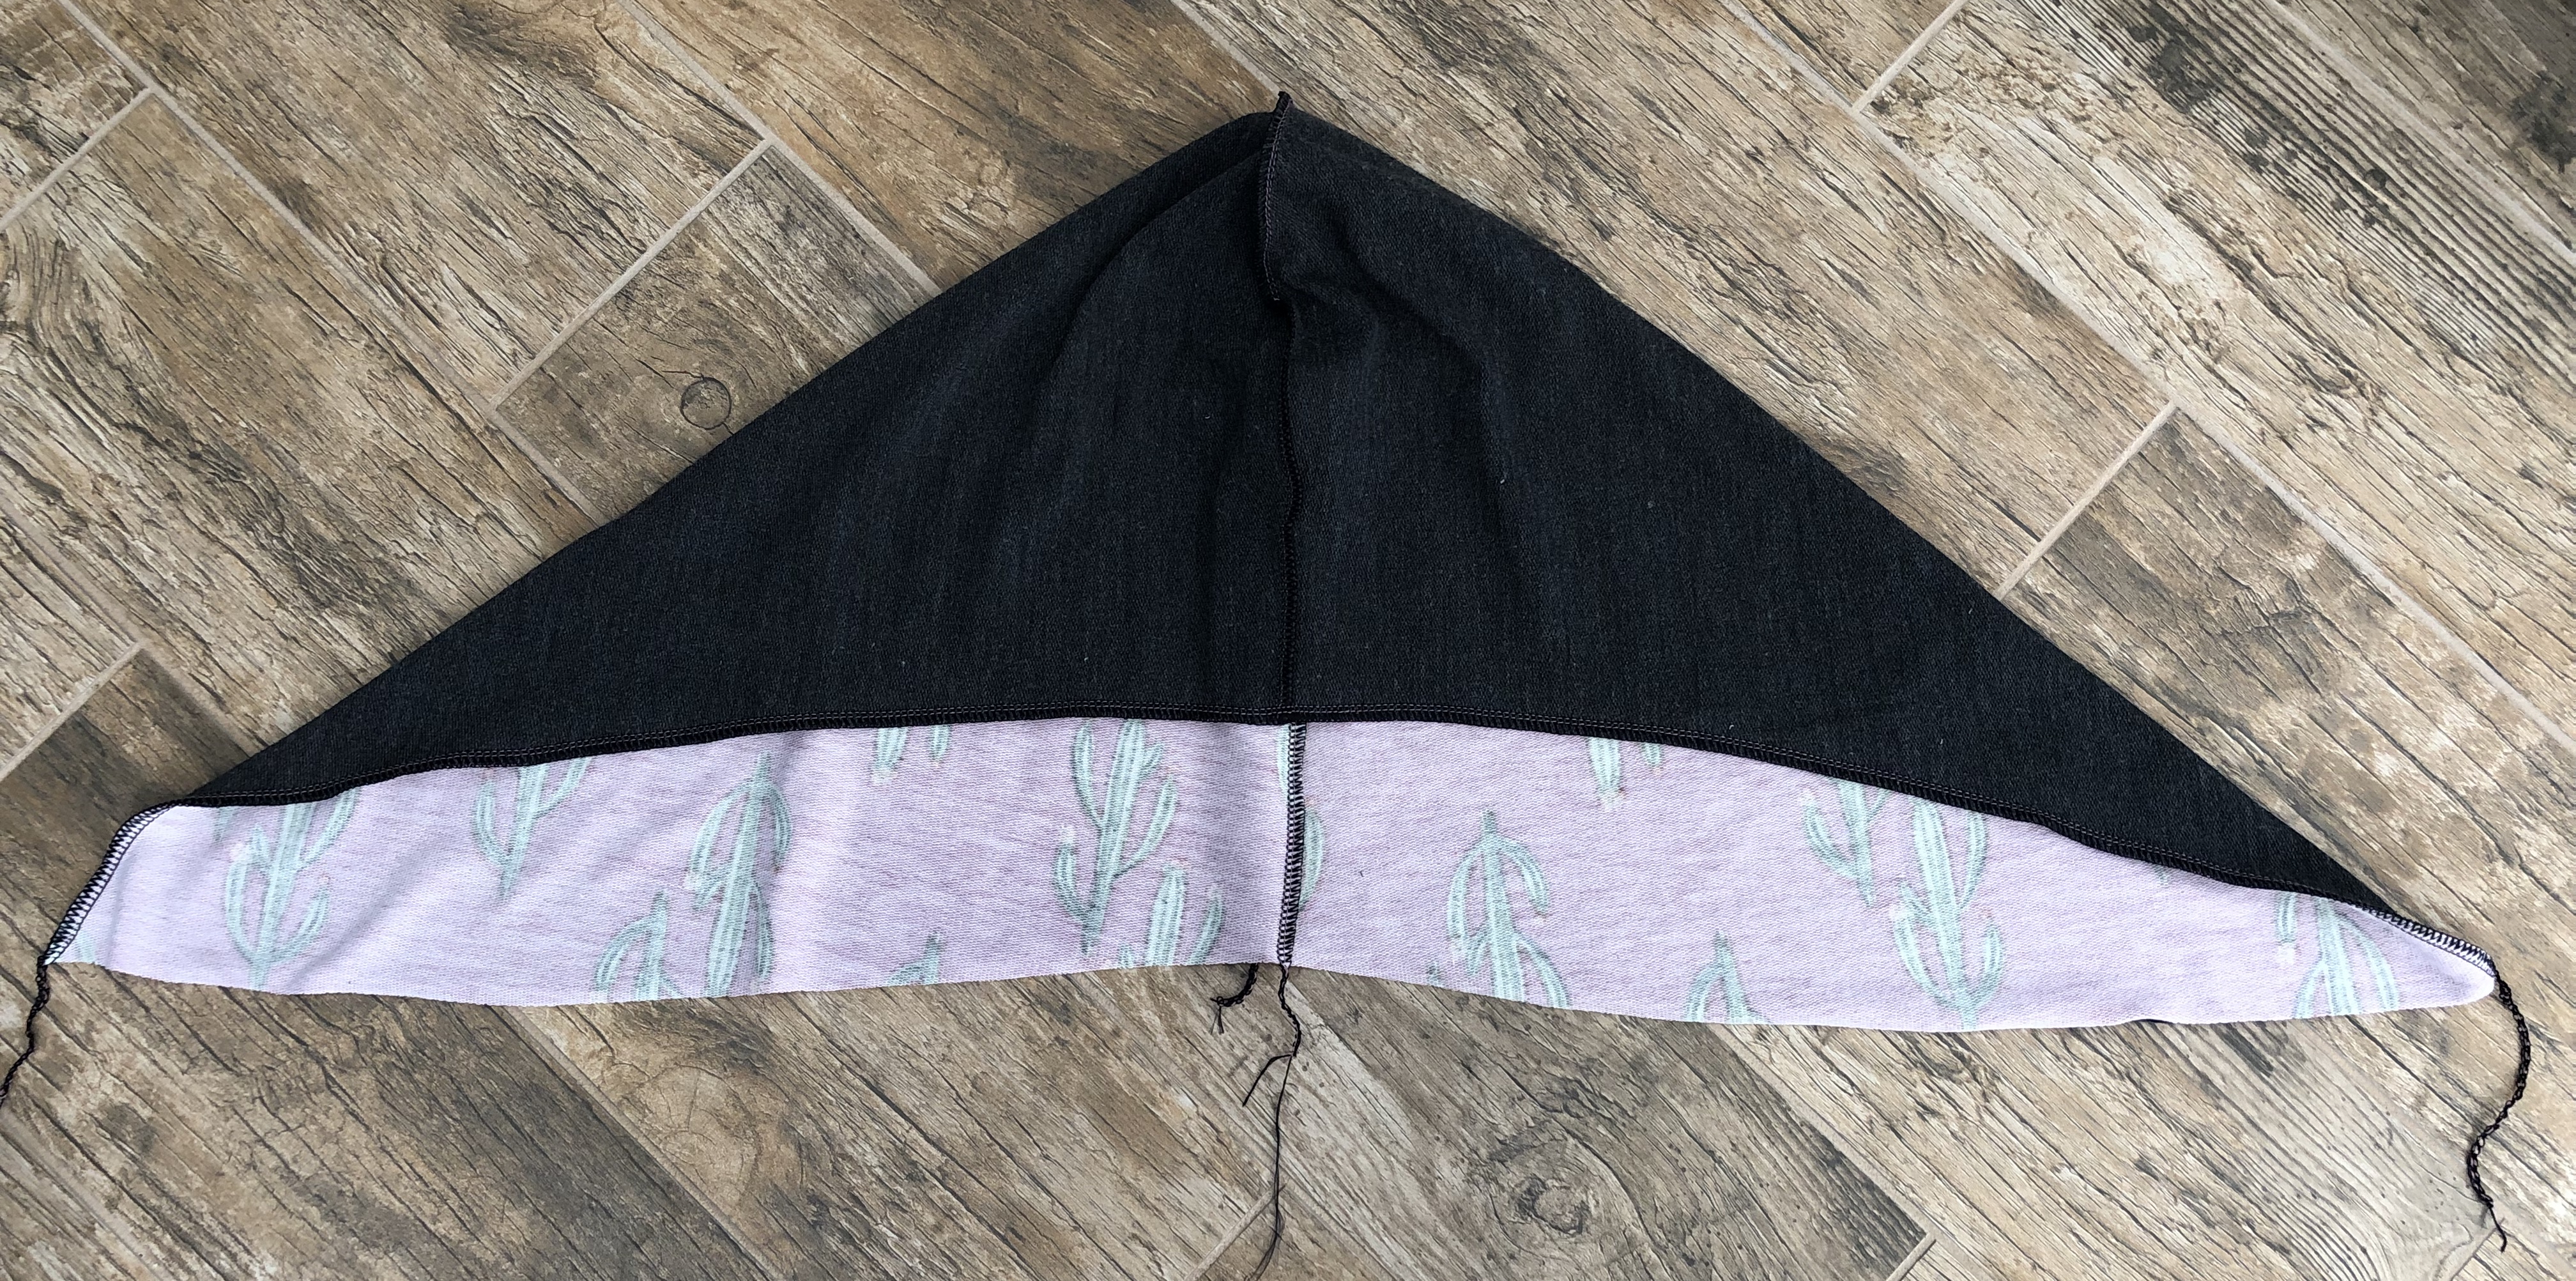
Take your hood and turn it right sides out with both the lining and outer hood wrong sides together (WST). You will now have your lined hood ready to attach to your shirt. If you choose to, you can also topstitich along the front outer curve.  

img_0545

I prefer not to have a drawstring in my hoodies. If you wanted to add one, this is when you would add a line of topstitching on the front curve to create a channel for the drawstring. If you didn’t make your grommet hole yet, you can also do that now, before adding the topstitching for the channel.

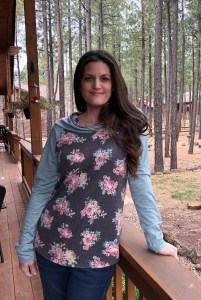
At this point you will follow the rest of the pattern instructions and attach the hood as though it was a single hood.  Look at how pretty that looks !

img_0554

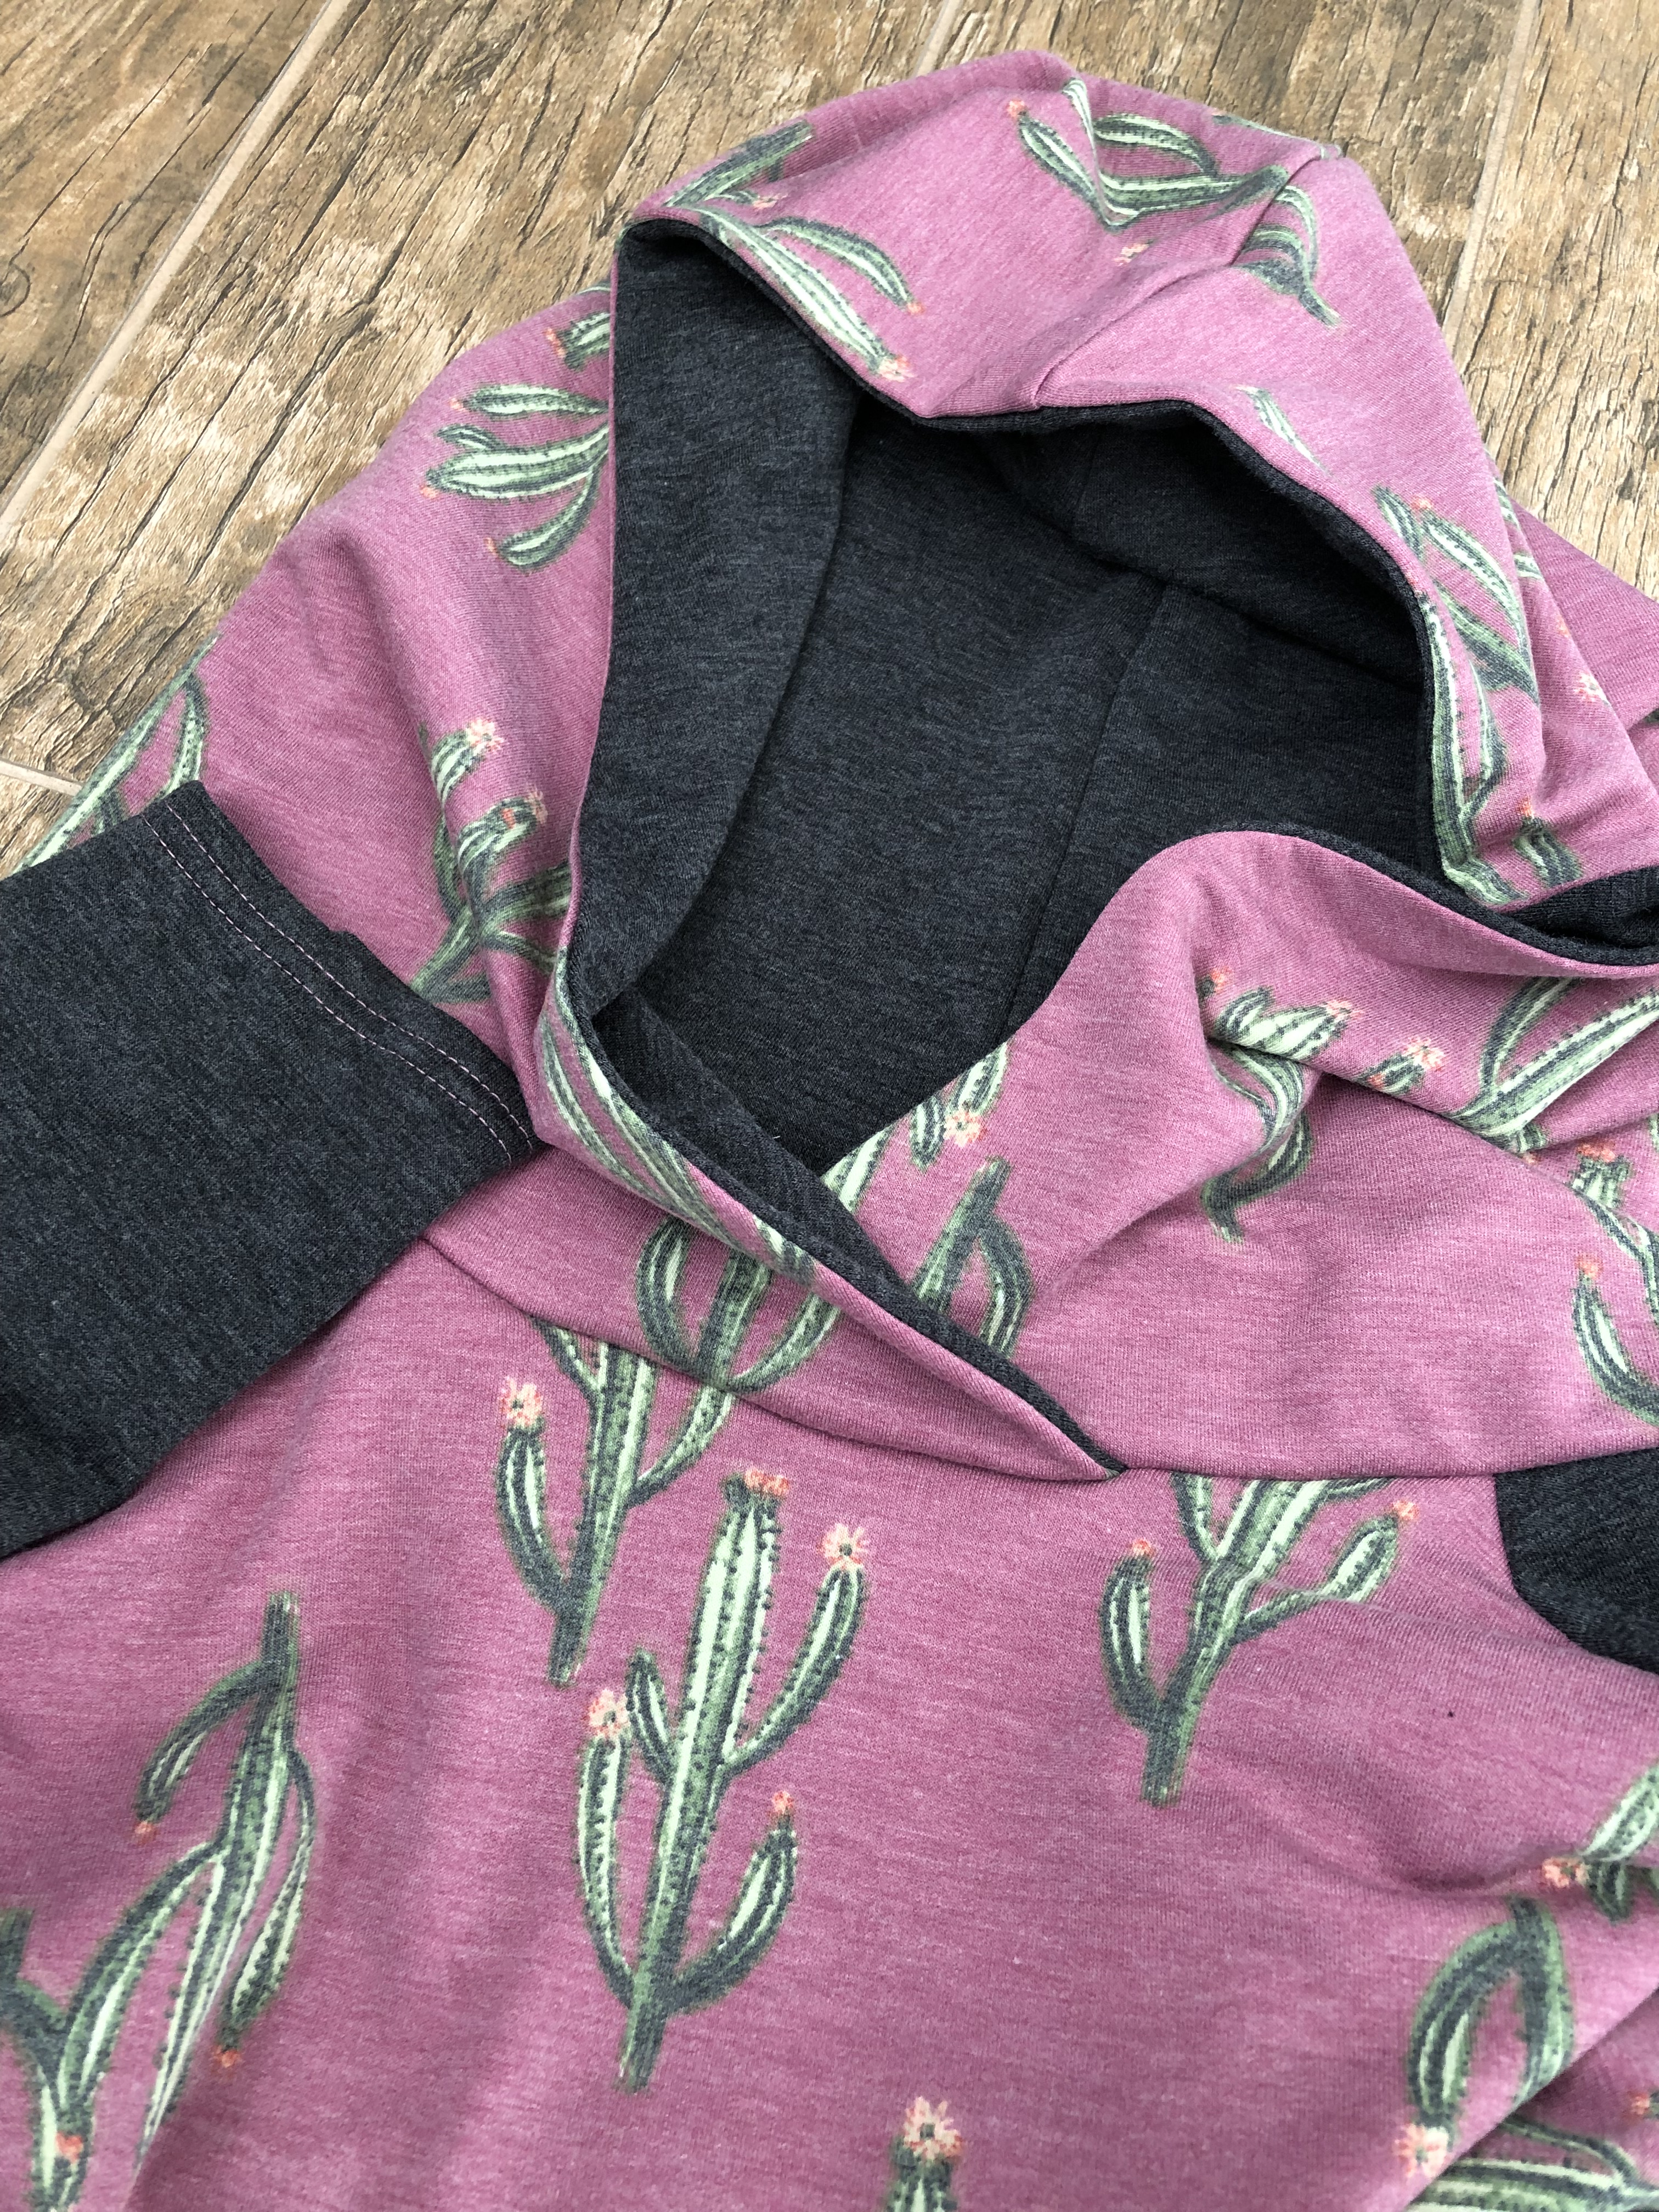
The Lane raglan comes in sizes XS – 2XL and has a variety of options.  Sleeves can be elbow length, 3/4 length, long, or long with bands. The hem can be curved or banded. You can do a hood or regular neckband, thumb hole wristbands and even a chest pocket. Bonus for those of you who need a full bust adjustment (FBA), it includes a separate pattern piece with it built in, how cool is that? The options I used were the curved hem and long sleeves.  Besides the usual grading for height and width, I made no other changes to the pattern. Both these hoodies were made using French Terry from So Sew English Fabrics. ****Enabler alert – they are having a 20% off moving sale until Friday, January 25th at 12 PM PST. The code is in the So Sew English Facebook group.****

As beautiful as this hoodie turned out, you won’t see me wearing it. It was made for a friend and is happily joining her closet. ❤ 

1ee2ce84-13f6-4ad6-bc3e-412576e49193

This post may contain affiliate links. This means if you make a purchase through that link, I may get a % back, at no additional cost to you. Let’s be honest, we all know it goes right back to adding to my fabric stash. All opinions on this blog are my own and I have a lot, ha ha ha.